How to Install NetBeans in Ubuntu Desktop
The NetBeans IDE is a free, open source, Java based Integrated Development Environment (IDE) which can be downloadable for different technologies, including Java, PHP, JavaScript, C/C++, HTML, and others.
In this tutorial I will explain how to install NetBeans IDE in Ubuntu 18.04 (This guide also compatible with previous LTS version, Ubuntu 16.04). The current version is NetBeans 8 and available from the Ubuntu apt repository.
Best and recommended method is to install NetBeans using the apt-get command:
sudo apt-get update
sudo apt-get install netbeans
The apt-get command will automatically install all dependent packages needed by NetBeans IDE.
Manually Download and Install NetBeans for other Programming Languages
It is also possible to install NetBeans manually from the package provides by the netbeans website and different packages available for different programming languages.
The following steps will guide you to manually download and install Java and NetBeans IDE on Ubuntu 18.04 Desktop:
- Install Java Development Kit.
- Download NetBeans IDE for Ubuntu.
- Make the downloaded file executable.
- Execute the .sh file.
First, install the openjdk-8-jdk-headless package which provides JDK 8 for Ubuntu:
sudo apt-get update
sudo apt-get install openjdk-8-jdk-headless
To download NetBeans IDE for Ubuntu, go to following URL https://netbeans.org/downloads/ and download the package for your programming language (I am going to use the bundle that support all languages).
For Ubuntu, NetBeans is downloaded in the form of a shell script. The filename should be something similar to "netbeans-8.2-linux.sh".
So first we must make the downloaded file to be executable using the chmod command:
chmod +x netbeans-8.2-linux.shTo continue with the installation on Ubuntu, execute the .sh file from the command line:
sudo ./netbeans-8.2-linux.sh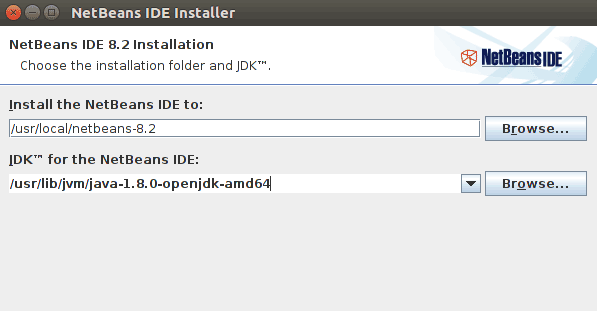
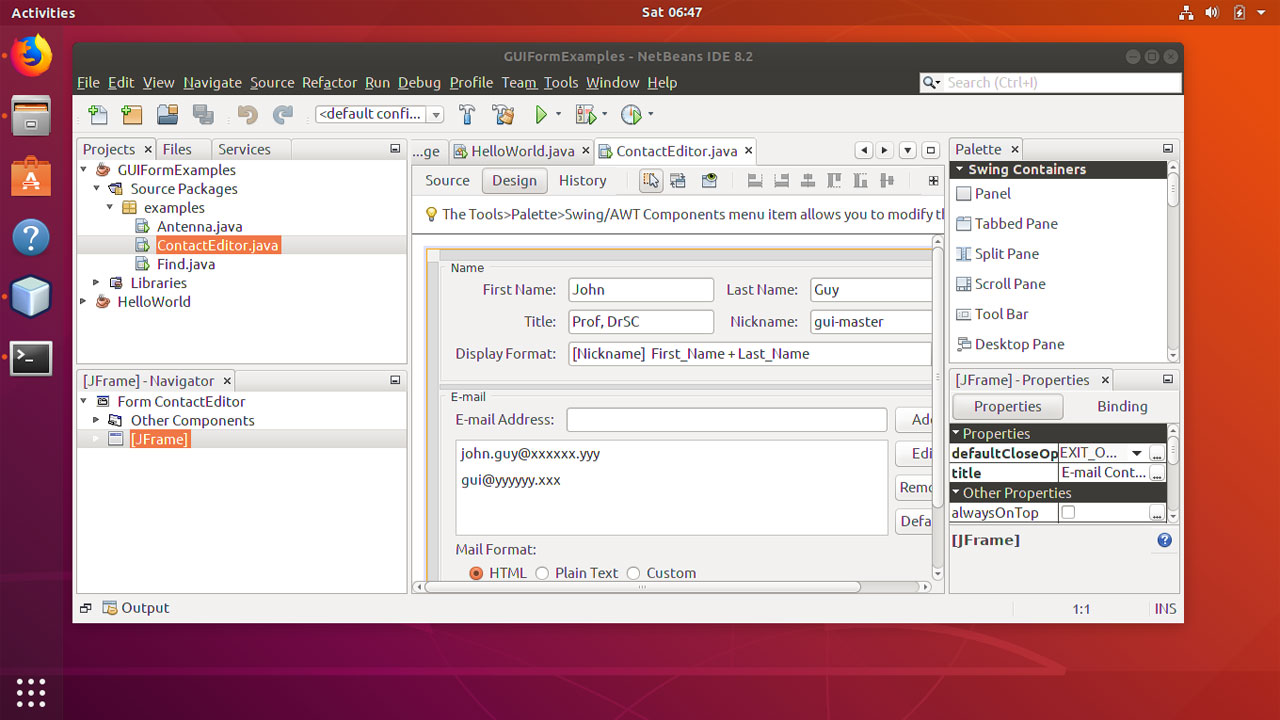
Creating a Java application
- To start a new Java project, Click on File and then click on New Project.
- Select Java Application by going to Categories.
- Enter Project Name and select the location of the project folder.
- Click on Finish.