How to Turn on Network Discovery and File Sharing in Windows 10/11
In this tutorial, we will learn how to Turn on network discovery and file sharing on Windows 10 Operating System. The following guide also works for Windows 11.
Change Network Profile to Private and Turn on Network Discovery from the Network Sharing Center
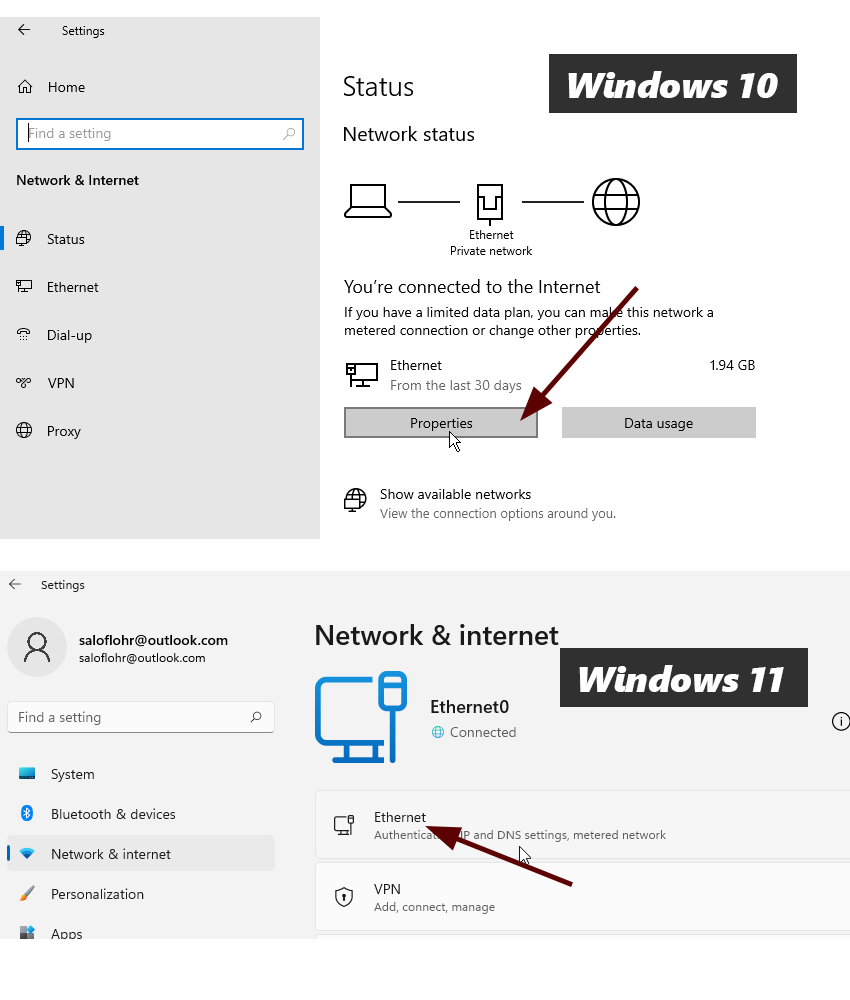
First of all, you need to change your network profile to Private. To do that, open Windows Settings (Press Windows key + I) and go to the Network & Internet category.
Click on the Properties button below the active network interface (labeled as Ethernet or Wi-Fi).
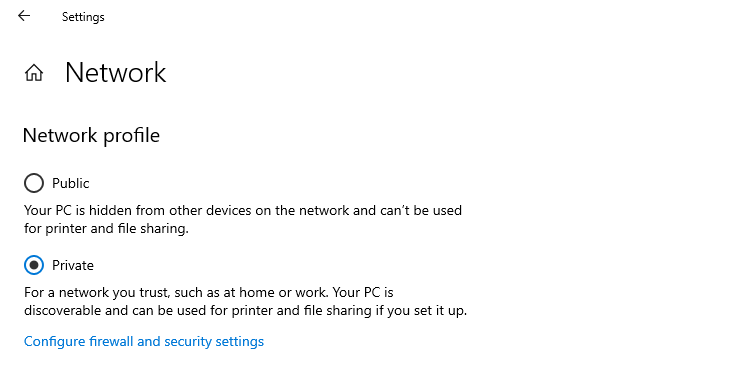
Under the Network profile, switch to the Private profile.
We have changed our network profile to private. Next, go through the following steps to Turn on network discovery in the Network and Sharing Center.
- Open the Control Panel - Click the Start button, type control, and press Enter.
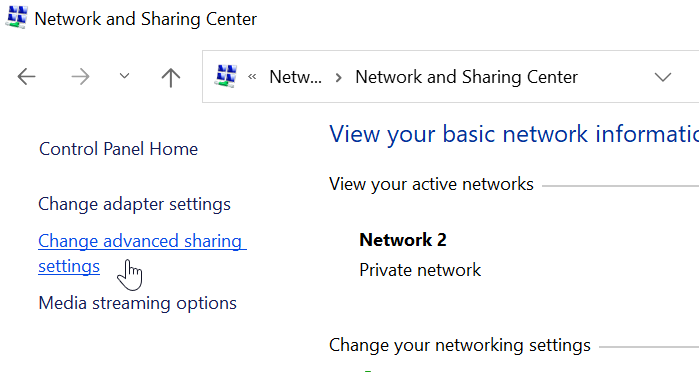
- In the Control Panel, go to Network and Internet > Network and Sharing Center.
- Click on the Change advanced sharing setting link on the left.
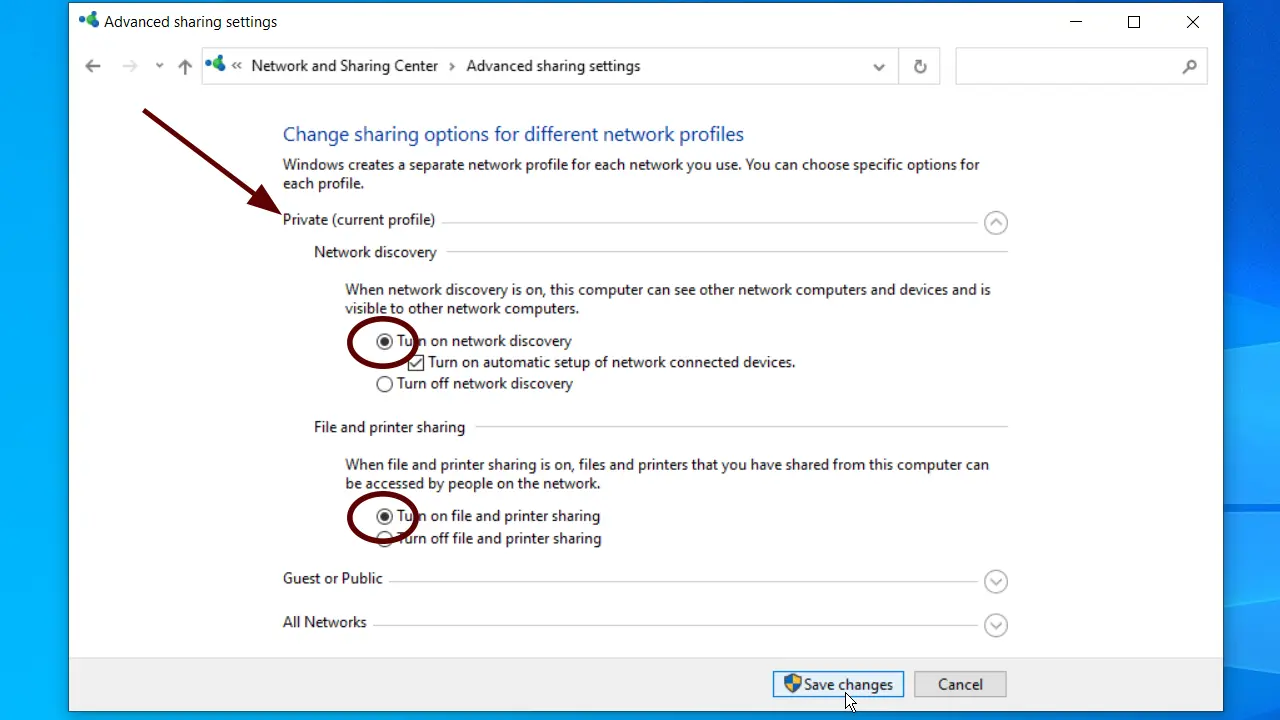
- Under the Private network section, Turn on network discovery.
- Next, choose Turn on file and printer sharing.
- Click Save Changes.
After enabling Network Discovery, you should see the shared computers and devices on your network under the Network Section of File Explorer.
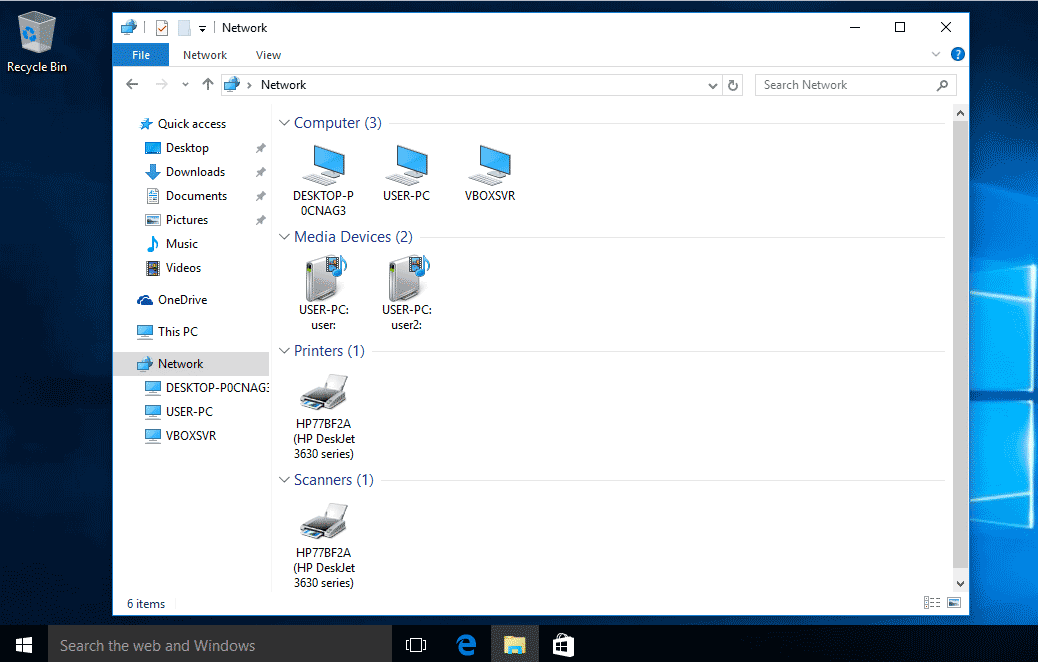
Looking at the above screenshot, you can see Windows has automatically detected shared computers and devices in our Network (Including Printers and Scanners).
What is Network Discovery?
Network discovery is the setting that enables Windows to auto-detect shared computers on your network. It also allows other computers to see your computer.