How to Edit Hosts File in Windows Using a GUI Tool (Easy Method)
In this guide, I’m going to show you an easy way to edit the hosts file in Windows using a GUI tool. Normally, we use Notepad, but if you do this often, a graphical interface can make things much easier.
In this guide, I’m going to show you:
- How to edit the hosts file using Notepad (the normal method)
- And how to use a GUI tool to do the same thing in an easier way
How to Edit the Hosts File Using Notepad
Before we look at the easier way, let’s see how we normally edit the hosts file using Notepad:
- Open Notepad as Administrator: Search for Notepad, right-click it, and select Run as Administrator.
- Navigate to the Hosts File Path: Go to File > Open and navigate to:
C:\Windows\System32\drivers\etc - Show All Files: Switch the drop-down menu from "Text Documents (*.txt)" to All Files.
- Open the File: Select the file named hosts and open it.
- Add an Entry: For example, if you want to point
example.comto the IP address192.168.1.10, first add the IP address, put some spaces (you can put any number of spaces here), type the domain name, and save the file.
Example format:
192.168.1.10 example.comSo this is how we normally edit the hosts file in Windows.
A Better Way: Using the Hosts File Editor GUI
Now let's see how to do the same thing using a GUI tool called Hosts File Editor. This is a built-in part of Microsoft PowerToys.
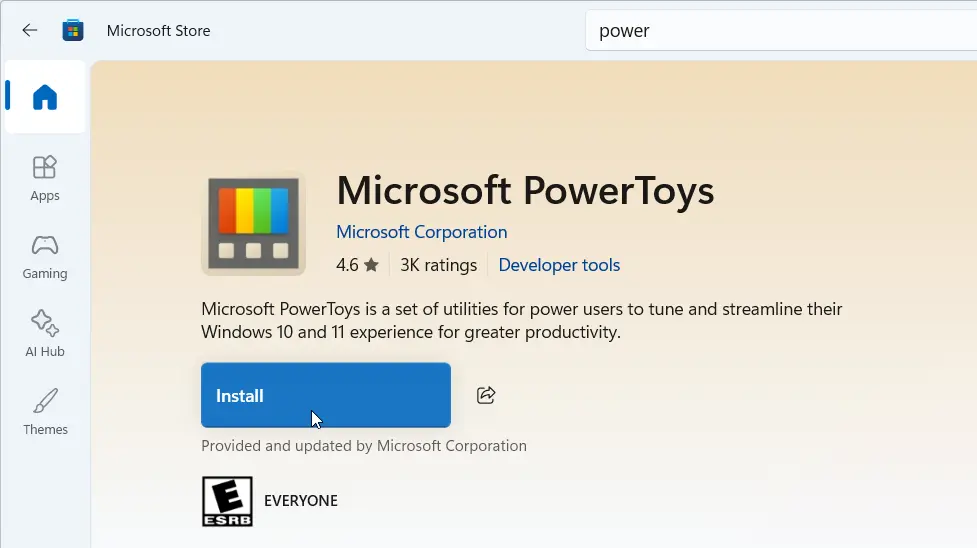
Install Microsoft PowerToys
First, you have to install PowerToys. Go to the Microsoft Store and install the software called Microsoft PowerToys by Microsoft.
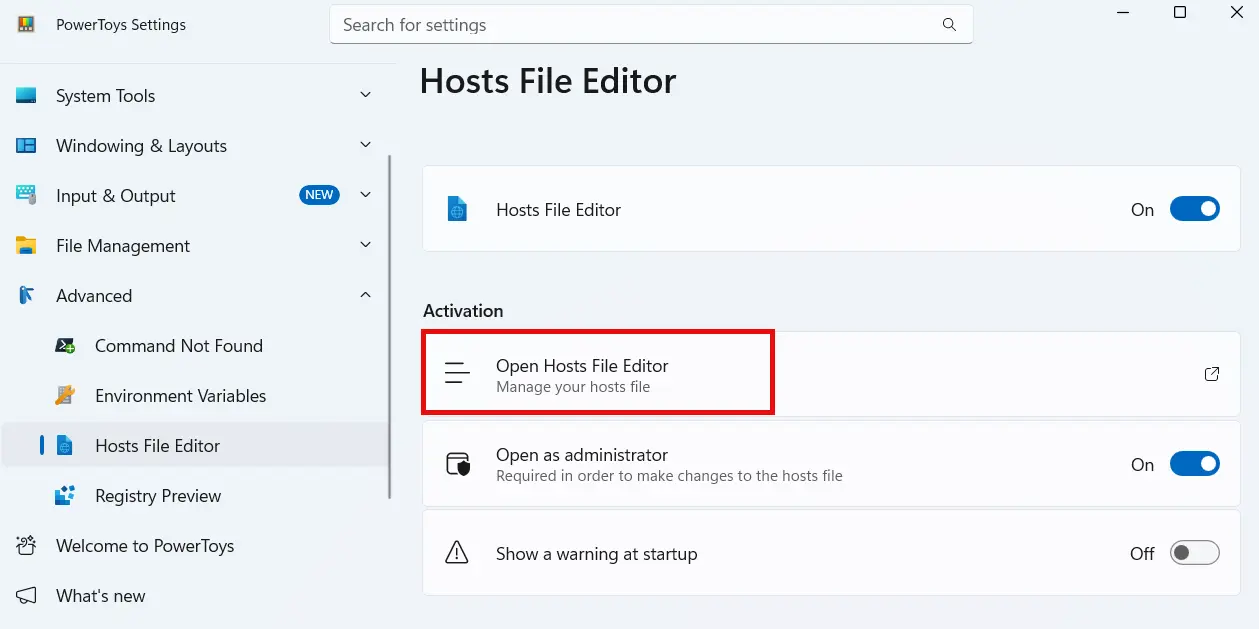
Enable the Hosts File Editor
- In PowerToys, go to the left-side navigation and select Advanced > Hosts File Editor.
- In the settings, ensure the Enable Hosts File Editor toggle switch is On.
- The Launch as administrator switch should also be On.
- You can turn off the warning message if you don’t want to see it every time you edit the file.
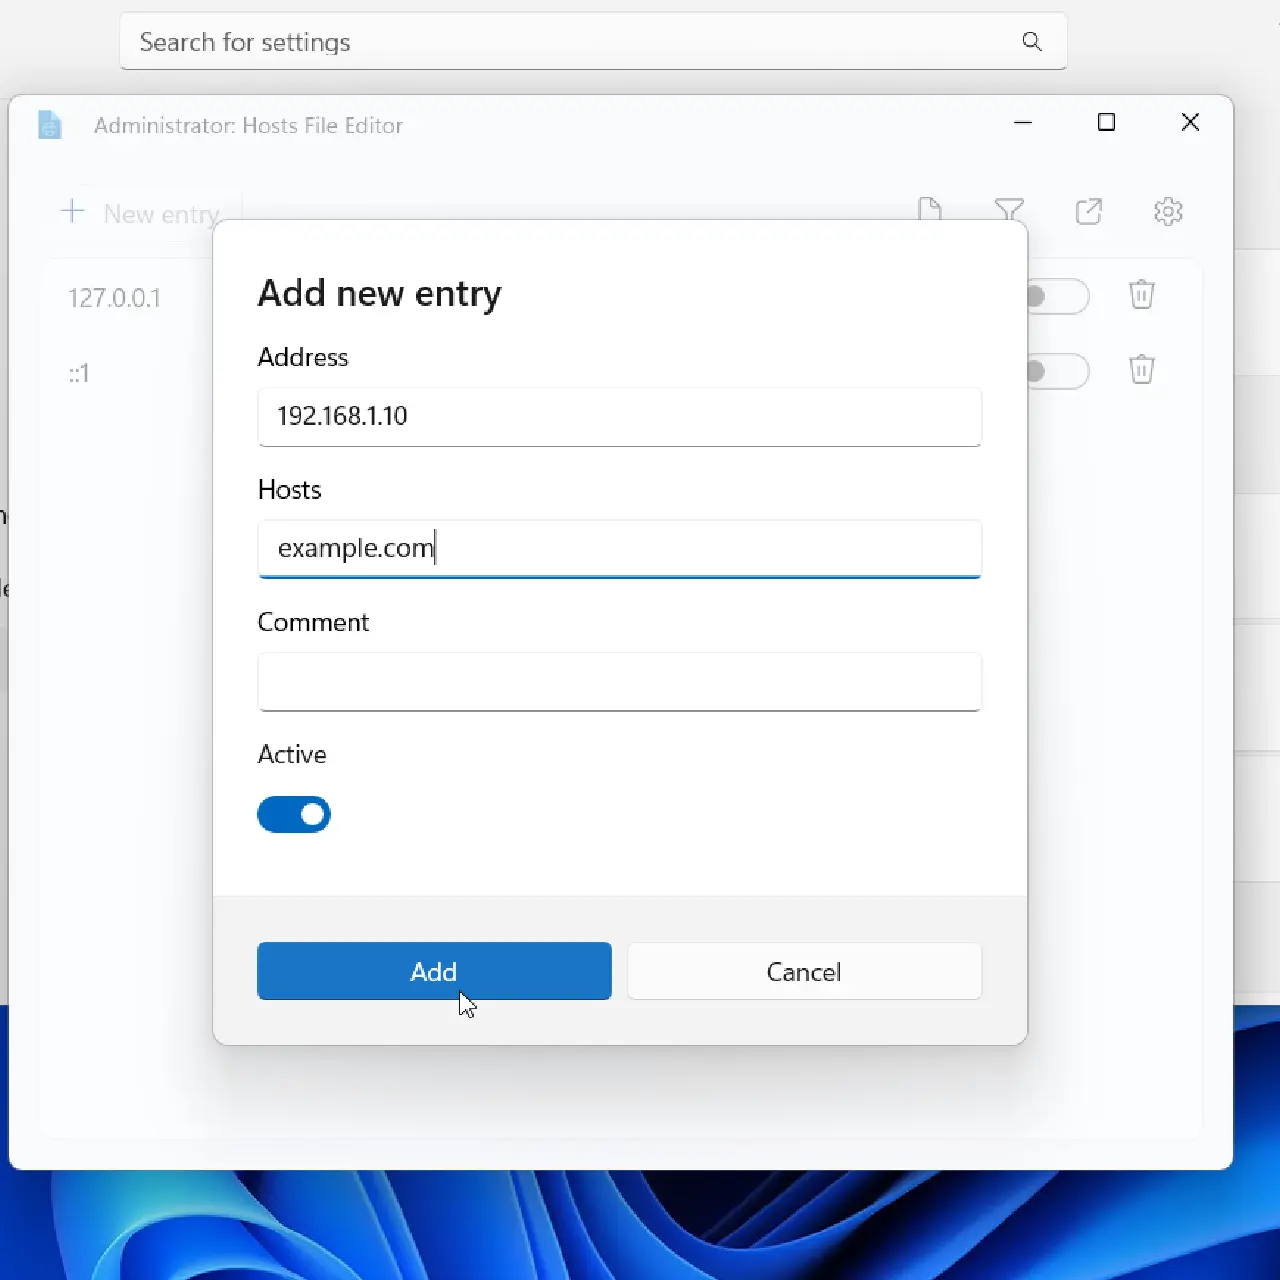
Manage Your Hosts Records
Click on the Open Hosts File Editor button to open the interface.
- Add New Entry: Click the Add New Entry button. Type the IP address and then the domain name in the hosts field. The comment is optional. Make sure the Active button is enabled and click Add.
- Deactivate a Record: If you want to temporarily deactivate a record, use the toggle switch. This will comment out the line in the actual file with a hashtag.
- Delete a Record: Click the Delete button to permanently remove the record from the hosts file.
Why Use a GUI Tool for Hosts File Editing?
Using a GUI tool like Hosts File Editor is useful because:
- No need to manually open Notepad as administrator
- Easy to add, edit, and delete entries
- Less chance of errors
- Much faster if you do this often
Conclusion
So that’s how you can edit the hosts file in Windows using a GUI tool.
If you do this often, this method is much easier compared to the traditional Notepad method.