How to Install Java JDK 8 on Ubuntu Linux
In this tutorial we are going to learn how to install Java Development kit on Ubuntu 16.04.
Ubuntu Java JRE vs JDK
The Java Runtime Environment (JRE) is not a Java development platform, JRE provides the Java virtual machine and it must be loaded on a system for Java applications to execute.
Java development Kit is the Java development platform which provides Java compiler (javac). The Ubuntu JDK 8 package includes both jdk and jre platforms.
So if you need both jdk and jre, install the JDK 8 package, If you only need the Runtime Environment then install the JRE 8 package.
Install Java Development Kit on Ubuntu
JDK 8 for Ubuntu 16.04 provides by the openjdk-8-jdk-headless package. To install openjdk-8-jdk-headless package, open the Ubuntu terminal and Type:
sudo apt-get update
sudo apt-get install openjdk-8-jdk-headless
This includes both Java virtual machine and Javac compiler.
Install Java Runtime Environment on Ubuntu
If you only need Java Runtime Environment 8, Then install the openjdk-8-jre-headless package:
sudo apt-get update
sudo apt-get install openjdk-8-jre-headless
Check Java Version
To check Java version, Type:
java -versionTo check JDK Version, Type:
javac -version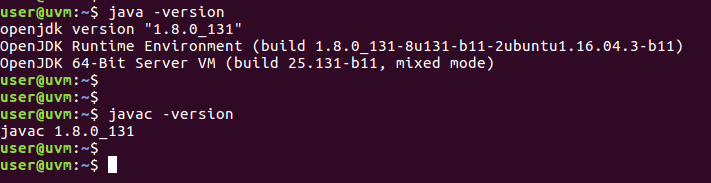
Run HelloWorld Java Program
Run a simple Hello World Program To test the Ubuntu Java installation.
First, create a file named HelloWorld.java and add following HelloWorld class:
public class HelloWorld {
   public static void main(String[] args) {
      System.out.println("Hello, World");
      System.out.println("Testing Ubuntu Java Development kit 8");
   }
}
Compile the HelloWorld program with javac command:
javac HelloWorld.javaThen, execute the program with java command:
java HelloWorldIf everything is correct, you should get the following output.
Hello, World
Testing Ubuntu Java Development kit 8
For this tutorial I used Ubuntu 16.04, But this should work on any version of Ubuntu including both Server and Desktop.