Install SSH on Ubuntu and Enable SSH root login (OpenSSH Server)
In this tutorial we are going to learn how to install and configure SSH Server on Ubuntu Server/Desktop Operating System. The Secure Shell (SSH) is the most common and secure way to manage Ubuntu using a command line from a remote location.
For this tutorial I am using Ubuntu 18.04 LTS, But you can use the following guide to setup SSH Server on any previous Ubuntu version.
Install OpenSSH Server on Ubuntu 18.04
The SSH Server for Ubuntu is provided by the openssh-server package. If not already installed, you can install openssh-server package in Ubuntu 18.04, using the apt-get install command.
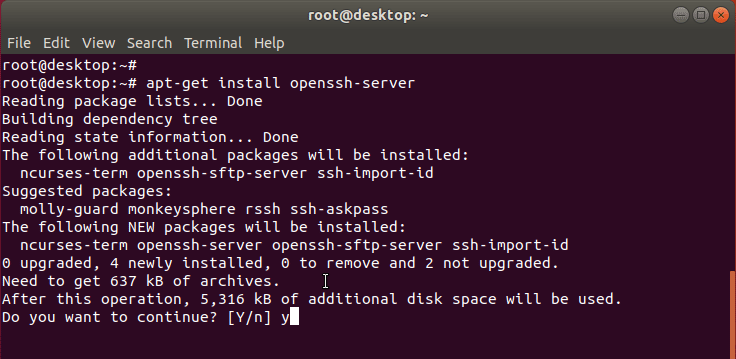
To install OpenSSH, open the Ubuntu terminal and execute:
sudo apt-get update
sudo apt-get install openssh-server
This will install the SSH Server on our Ubuntu System.
Start SSH Server on Ubuntu
OpenSSH Server should start automatically after the installation, if not, to start the SSH Server on Ubuntu 18.04, we use the systemctl command.
sudo systemctl start ssh.service
sudo systemctl enable ssh.service
In Ubuntu 14.04 use service command to start the ssh service.
sudo service ssh startEnable SSH root login in Ubuntu
By default SSH Server in Ubuntu do not allow to connect to the server using the root username. In order to allow root SSH Login we need to change PermitRootLogin to yes in the /etc/ssh/sshd_config file.
First, Open the /etc/ssh/sshd_config file.
sudo vim /etc/ssh/sshd_configThen locate the line PermitRootLogin directive, uncomment (remove the # in front) and change its value to yes.
PermitRootLogin yes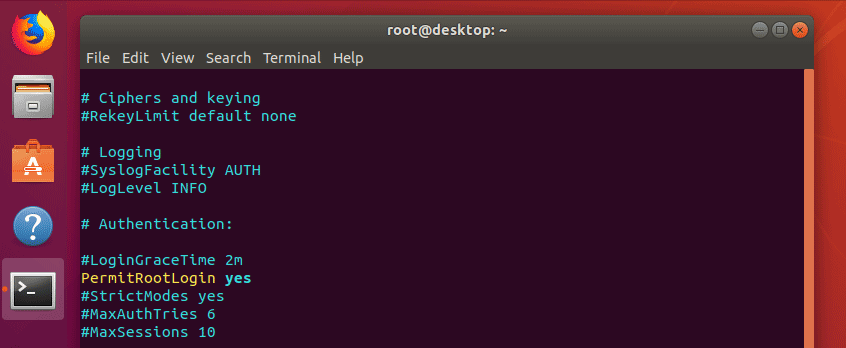
Then, Save the SSH Configuration file and restart the SSH Server.
sudo systemctl restart ssh.serviceOr
sudo service ssh restartNow you can login to the Ubuntu SSH Server using the root user Account.
Summary - Setup SSH Server on Ubuntu
In this tutorial we learned how to install SSH Server on Ubuntu Linux.
- SSH Server for Ubuntu provides by the openssh-server package. OpenSSH is the most widely deployed SSH server in the world
- By default Root Login to the SSH Server is disabled in Ubuntu Linux.
- To enable Ubuntu root SSH login, we need to set PermitRootLogin yes in the /etc/ssh/sshd_config file.