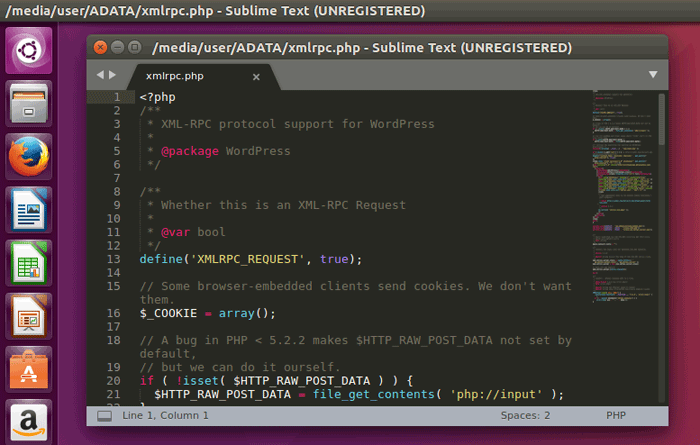
How to Install Sublime Text 3 on Ubuntu Desktop
In this article I will explain how to install Sublime Text 3 on Ubuntu Desktop. First, we will first add the Sublime apt repository for Ubuntu Linux, then we install sublime text 3 with apt-get command.
You can do following steps to install sublime 3 on any version of Ubuntu Linux.
- Set Ubuntu Sublime apt repository.
- Install Sublime Text 3 with apt-get command.
First, Install the GPG key and enable the apt repository:
wget -qO - https://download.sublimetext.com/sublimehq-pub.gpg | sudo apt-key add -
echo "deb https://download.sublimetext.com/ apt/stable/" | sudo tee /etc/apt/sources.list.d/sublime-text.list
Then, use the apt-get command to install sublime text 3 on Ubuntu:
sudo apt-get update
sudo apt-get install sublime-text
Sublime text is a commercial text editor and you will have 30 day evaluation period before you decide to register.
Set Sublime Text as the default editor in Ubuntu
If you want to make sublime text your default text editor, open the defaults.list file of Ubuntu:
sudo subl /usr/share/applications/defaults.listAnd replace all occurrences of gedit.desktop with sublime_text.desktop.
The subl command
The subl command opens the sublime text editor from the command line. From the command line, we can open both files and folders.
Example, open a file called file1.txt:
subl file1.txtExample, Open /var/www/ folder:
subl /var/www/
Open current working directory:
subl .
The subl command options
--project <project>: Load the given project
--command <command>: Run the given command
-n or --new-window: Open a new window
-a or --add: Add folders to the current window
-w or --wait: Wait for the files to be closed before returning
-b or --background: Don't activate the application
-h or --help: Show help (this message) and exit
-v or --version: Show version and exit
