How to Find Your Default Gateway IP Address in Windows CMD
If you want to find the default gateway IP address of your network in Windows 10 or Windows 11, you can easily do it using the Command Prompt. The same steps also work in PowerShell.
Open Command Prompt
In Windows 11, you can open Command Prompt by right-clicking the Start menu and selecting Terminal or Terminal (Admin).
For this task, you do not need to run it as administrator. The command works in both PowerShell and Windows CMD.
Run the ipconfig Command
Type the following command and press Enter:
ipconfig /allThis command displays the IP configuration details of all your network interfaces.
Find the Default Gateway IP
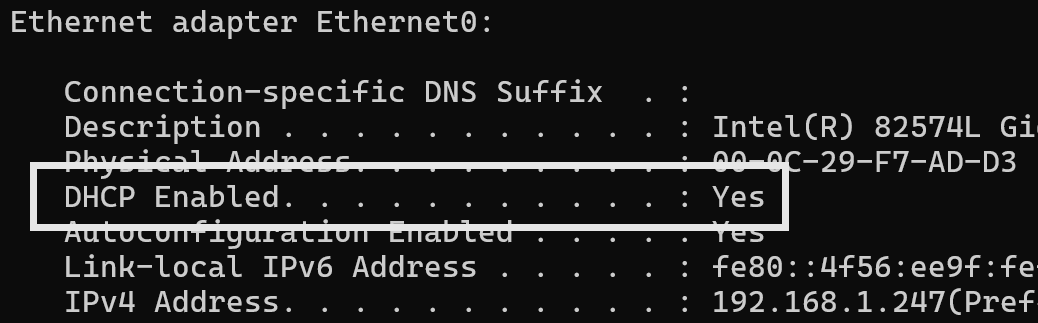
In the output, look for your active network adapter — for example, Ethernet 0. You’ll see your computer’s IP address and the Default Gateway IP address.
For example:
Default Gateway . . . . . . . . . : 192.168.1.1This is the IP address of your router or network gateway.

All of this information is usually assigned automatically by the DHCP server. You can confirm this because DHCP Enabled is set to Yes, meaning your system receives network settings dynamically.
You’ll also see the IP address of the DHCP server and the DNS servers your system is using.
Test the Connection to the Default Gateway
If you want to check whether your computer can reach the default gateway, you can use the ping command. Type:
ping 192.168.1.1If you receive replies, it means your computer has a working connection to the gateway.

Conclusion
Using the ipconfig command in Windows CMD or PowerShell is the quickest way to check your default gateway IP address, IP configuration, and network connection status. It’s a simple yet essential step for network troubleshooting and understanding your local network setup.