Don’t Want the Recycle Bin on Desktop? Here’s How to Hide It
In this guide, I will show you how to remove the Recycle Bin shortcut from the Windows desktop. This method works on both Windows 10 and Windows 11.
Step 1: Open Windows Settings
To get started, open Windows Settings. You can right-click the Start button and select Settings.
Step 2: Go to Desktop Icon Settings
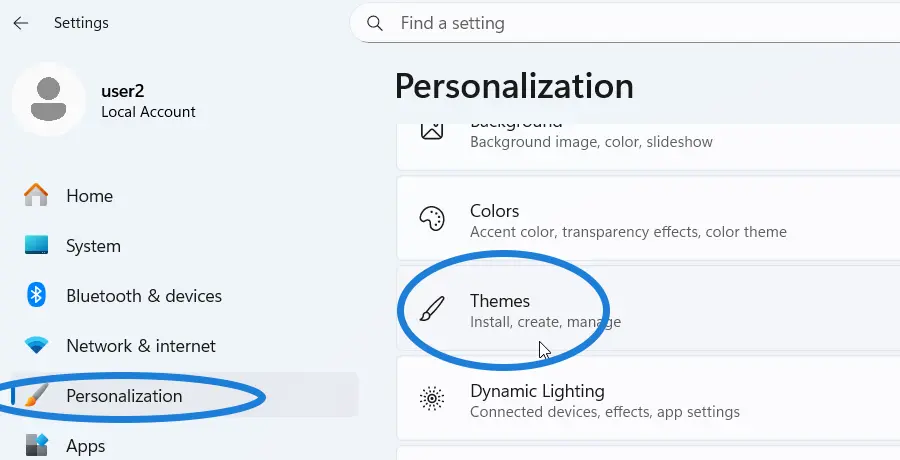
The setting we need is called Desktop Icon Settings. You can find it under Personalization > Themes.
Once you open the Themes section, click Desktop Icon Settings.
Step 3: Remove the Recycle Bin Icon
A window will appear where you can choose which icons to show or hide on your desktop.
Right now, the Recycle Bin checkbox is selected, which means the Recycle Bin is shown on the desktop. If you remove this checkbox and click Apply, the Recycle Bin icon will disappear from your desktop.

How to Access the Recycle Bin Without the Shortcut
Even after removing the shortcut, you can still access the Recycle Bin anytime.
To do this, open File Explorer, and in the address bar, type Recycle Bin, then press Enter.
This will open the Recycle Bin inside File Explorer.

That’s how you can easily remove the Recycle Bin shortcut from your Windows desktop. The important thing is you can still access it anytime through File Explorer if you need to.