How to Install NVIDIA Drivers on Ubuntu 18.04
In the early years of Linux desktops, installing drivers has been a major problem for desktop users, but now Ubuntu provides quick and easy way to install proprietary drivers for your hardware. In this tutorial, you learn how to install NVIDIA drivers for Ubuntu 18.04 Bionic Beaver. You need to install Nvidia drivers for your graphics cards, to get some advanced features from your video card.
First, install the ubuntu-drivers-common package:
sudo apt-get install ubuntu-drivers-commonNext, run the following command to auto install drivers for your devices:
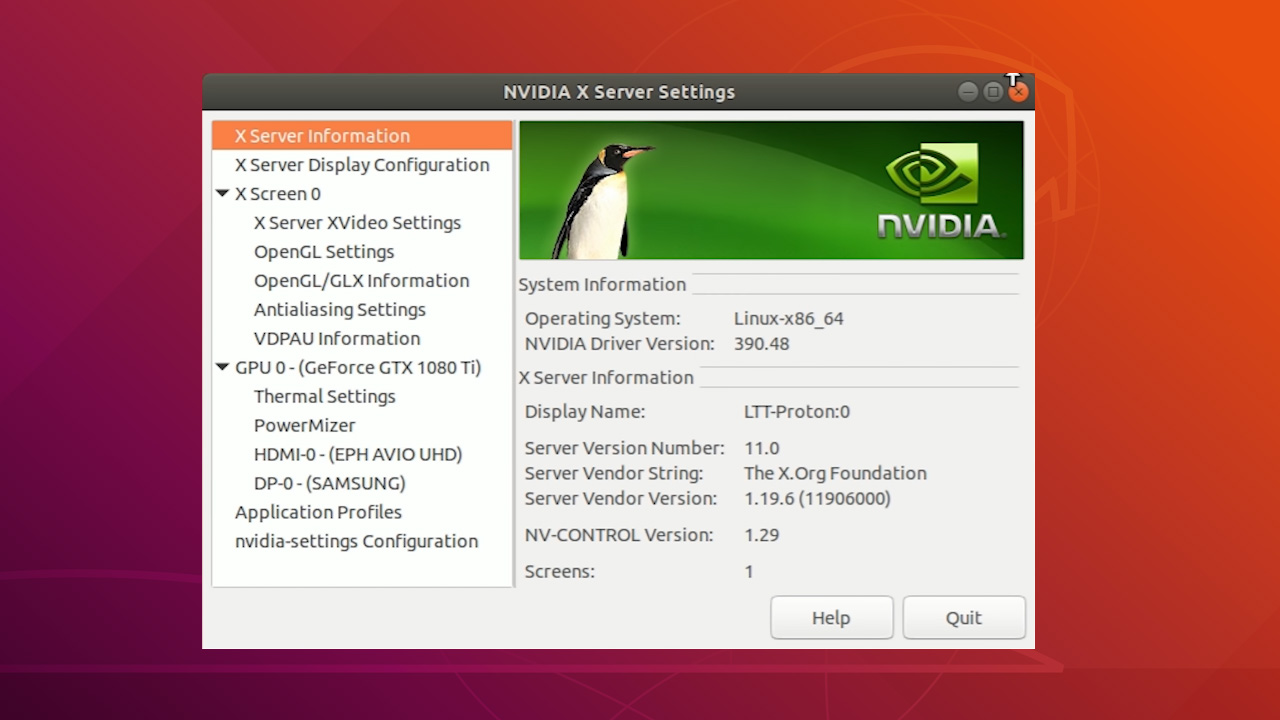
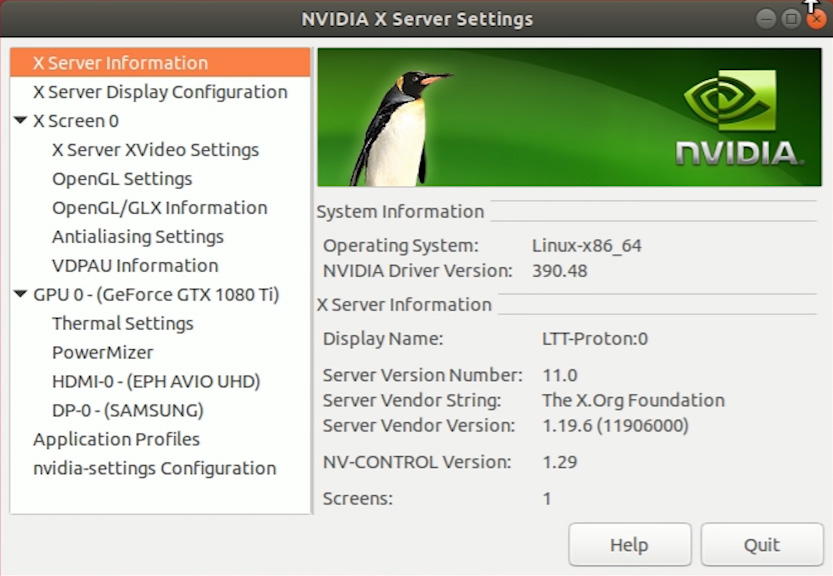
sudo ubuntu-drivers autoinstallReboot the computer when finished, after the reboot you can open the NVIDIA X Server Settings program and see the information on the nvidia drivers installed on your Ubuntu computer.
Alternatively, we can use the Ubuntu GUI. Open Software & Updates Utility and select the Additional Drivers tab.
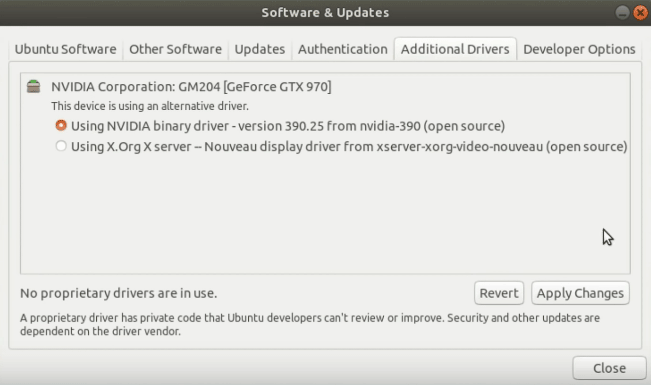
From here find your graphics cards, select the driver version you want to install and click activate.
Although open source drivers are installed by default on Ubuntu 18.04, those drivers may not support 3D hardware acceleration and other advanced features. This will not be a problem for the most cases. But for gaming and other applications that need 3D hardware acceleration, you need to install proprietary drivers for your device.