How to Install Cockpit on Ubuntu Server 18.04
Let’s See How to install Cockpit on Ubuntu Server 18.04. Cockpit provides web interface for managing Linux Distributions via a Web Browser. Cockpit becoming more popular because, Cockpit can be used to manage Docker containers.
To install the cockpit GUI on Ubuntu 18.04, First enable the universe apt repository, then install the cockpit and cockpit-docker packages:
sudo add-apt-repository universe
sudo apt-get update
sudo apt-get install cockpit cockpit-docker
You can access the cockpit web interface using a Web Browser. In the Address bar Type:
https://ip-address-of-machine:9090For example, If the IP Address of your Ubuntu Server is 192.168.1.10, Then in the address bar Type:
https://192.168.1.10:9090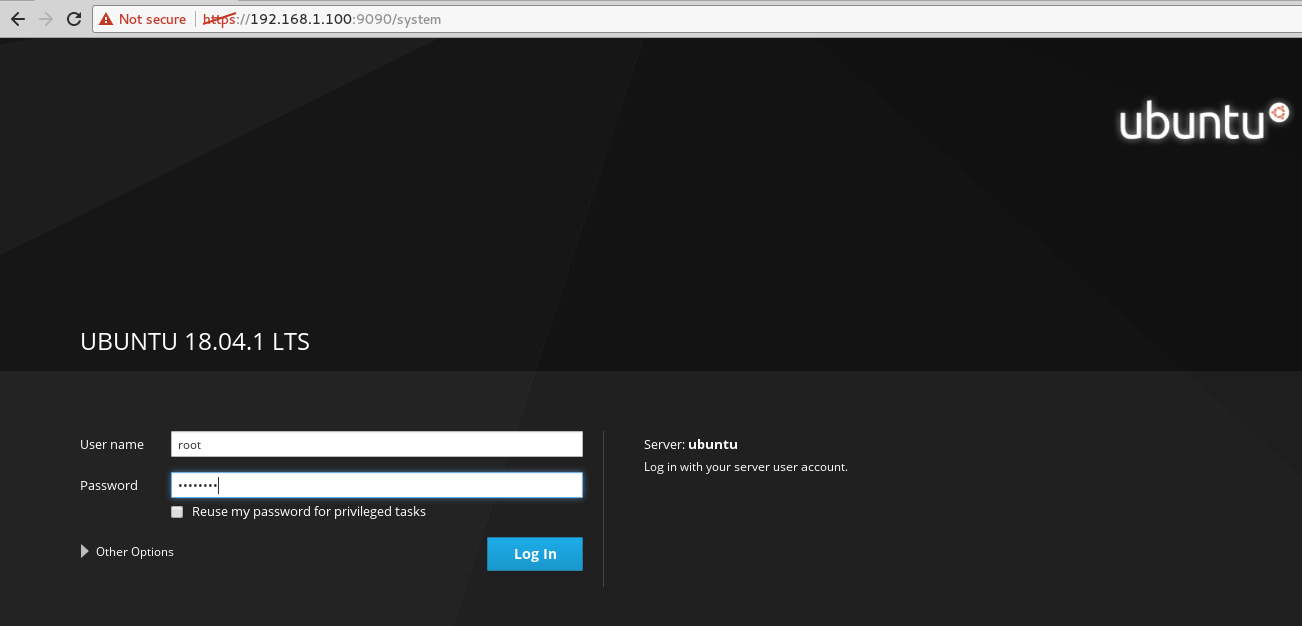
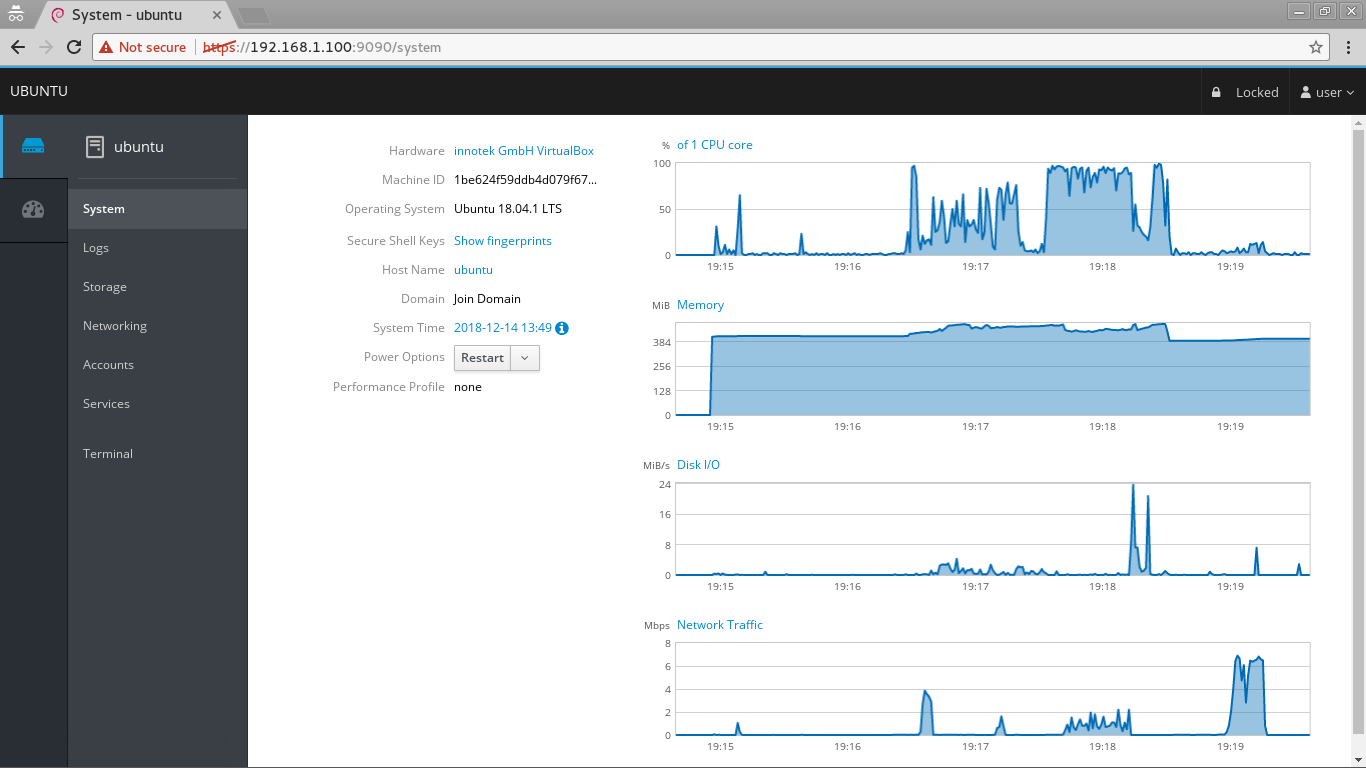
Use your Ubuntu username and Password to Access cockpit dashboard.
Cockpit package is not available in the apt repository for Ubuntu 16.04. Do the following steps if you want to install cockpit on your Ubuntu 16.04 Server.
Add Ubuntu Cockpit PPA Repository:
sudo add-apt-repository ppa:cockpit-project/cockpitUpdate the Repository List:
sudo apt-get updateInstall Cockpit:
sudo apt-get install cockpitStart, Stop and Enable Cockpit Service
You can manage cockpit service using the systemctl command. For example, run the following command to stop the cockpit GUI:
sudo systemctl stop cockpit.service cockpit.socketTo start cockpit, run:
sudo systemctl start cockpitThe cockpit GUI will start automatically after a Server reboot. If you don't want to start the service automatically, disable it with following command:
sudo systemctl disable cockpit.service cockpit.socketWe can re enable cockpit with following command:
sudo systemctl enable cockpit.service cockpit.socket