How to Install and Configure Git on Ubuntu 24.04 LTS (Step-by-Step)
In this tutorial we will learn how to install and configure Git on Ubuntu 24.04. This guide works for both Ubuntu Desktop and Ubuntu Server. We will cover the installation process, setting up your global user identity, and a special tweak to show your Git branch name directly in the terminal.
Step 1: Install Git on Ubuntu 24.04
First, we will start by installing Git. We need to update the local package index to ensure we get the latest version available in the Ubuntu repositories.
sudo apt updateThen install Git:
sudo apt install gitAfter the installation, check the version to confirm it is up and running:
git --versionStep 2: Configure Git Global Settings
Now that we have installed Git, let's configure the installation. Git configuration happens at three levels: System level, Global level, and Local level.
- System level – applies to all users
- Global level – applies to the current user
- Local level – applies to a specific Git project
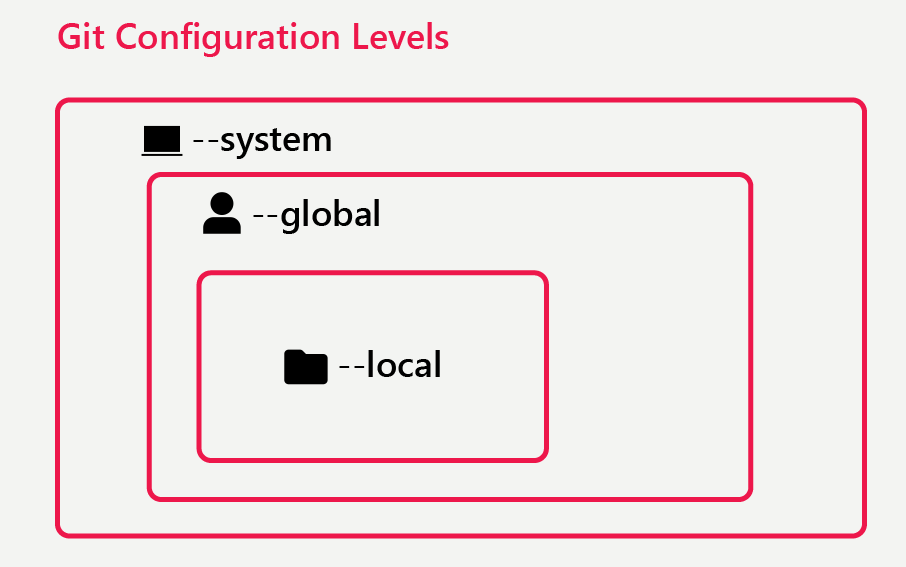
We usually don’t set system-level configurations. Instead, we set global configuration so all projects under the current user inherit those settings. Then, only when necessary, we override global settings using local configuration for a specific Git project.
We need to configure:
- Username
- Default branch name
Set your global username: (Make sure to put the name inside quotes):
git config --global user.name "Your Name"Set your global email: (You should use the same email that you use with cloud repositories like GitHub or GitLab.):
git config --global user.email "yourname@example.com"Configure the default branch name:
git config --global init.defaultBranch mainRun the following command to see your current configuration:
git config --global --listStep 3: Show Git Branch Name in Bash Terminal
By default, the Bash shell does not show the branch name you are working on. We will now configure the shell to display the active branch.
What you need to do is add these two lines to the ~/.bashrc file:
source /usr/lib/git-core/git-sh-prompt
PS1='\[\e[32m\]\u@\h\[\e[0m\]:\[\e[34m\]\w\[\e[33m\]$(__git_ps1 " (%s)")\[\e[0m\]\$ '
After adding the configuration, you need to reload the ~/.bashrc file using the following command:
source ~/.bashrcNow, when you enter your Git project folder, you will see main (or your current branch) displayed in the prompt.

Summary
You have successfully:
- Installed Git on Ubuntu 24
- Configured Git username and email
- Set the default branch to main
- Configured Bash to show the Git branch name
Git is now fully installed and configured on Ubuntu 24.