How to Install Ruby on Rails on Ubuntu Linux
Before we can start building Rails applications, you'll need to get Ruby on Rails installed on your system. Installing Ruby and Rails can be tricky, if you don't do it the right way.
In the following guide, I'm going to walk you through How to Install Ruby on Rails for Ubuntu Linux. This guide will work with any Ubuntu Linux version, including the latest LTS version Ubuntu 18.04 LTS and 19.04.
Following are the main steps to install Ruby on Rails on Ubuntu Linux:
- Configure GNOME Terminal.
- Install YARN Package Manager.
- Install RVM (Ruby Version Manager is a tool for managing Ruby installation on Ubuntu).
- Install Ruby programming language.
- Install Rails framework.
First, we need to make a small change to the Ubuntu terminal If you are using GNOME Terminal as your command line interface (Which is the default terminal on Ubuntu 18.04 LTS).
Open the terminal and go to Edit > Preferences > Command, and then activate the Run command as a login shell checkbox.

The next step is to install YARN Package Manager, ruby on rails needs YARN to install dependency packages such as Node JS and Webpacker.
You can install YARN on Ubuntu with the following set of commands:
sudo apt-get update && sudo apt-get install curl
curl -sS https://dl.yarnpkg.com/debian/pubkey.gpg | sudo apt-key add -
echo "deb https://dl.yarnpkg.com/debian/ stable main" | sudo tee /etc/apt/sources.list.d/yarn.list
sudo apt update && sudo apt install yarn
Next, Install RVM (Ruby Version Manager) by issuing the following command:
curl -sSL https://get.rvm.io | bashSource RVM script to add RVM to your Ubuntu environment:
source ~/.rvm/scripts/rvmInstall prerequisite Ubuntu modules required to run Ruby on rails:
rvm requirementsOnce this is complete, you can proceed to install Ruby programming language with the following command:
rvm install rubyOnce Ruby has been installed, you can install the latest version of Rails with the following command:
gem install railsThat is all we need to do. Ruby on Rails is now installed on your Ubuntu system. You can check ruby version with following command:
ruby --versionTo check the Rails version, run:
rails --versionStarting Test Application
We will create a simple application to check that our setup is working correctly. We can easily create a new rails application by running the rails new command.
To create a new Rails application called "testapp", open a terminal and run:
rails new testapp
After that, CD into the "testapp" folder and start rails server with the following command:
rails server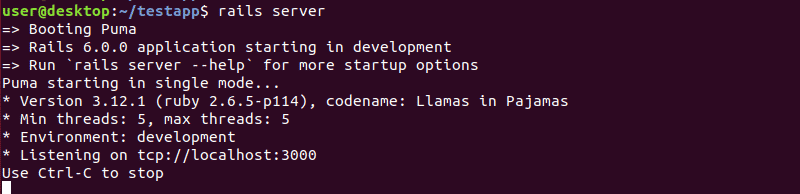
Once this is complete, open your Web browser and visit http://localhost:3000.
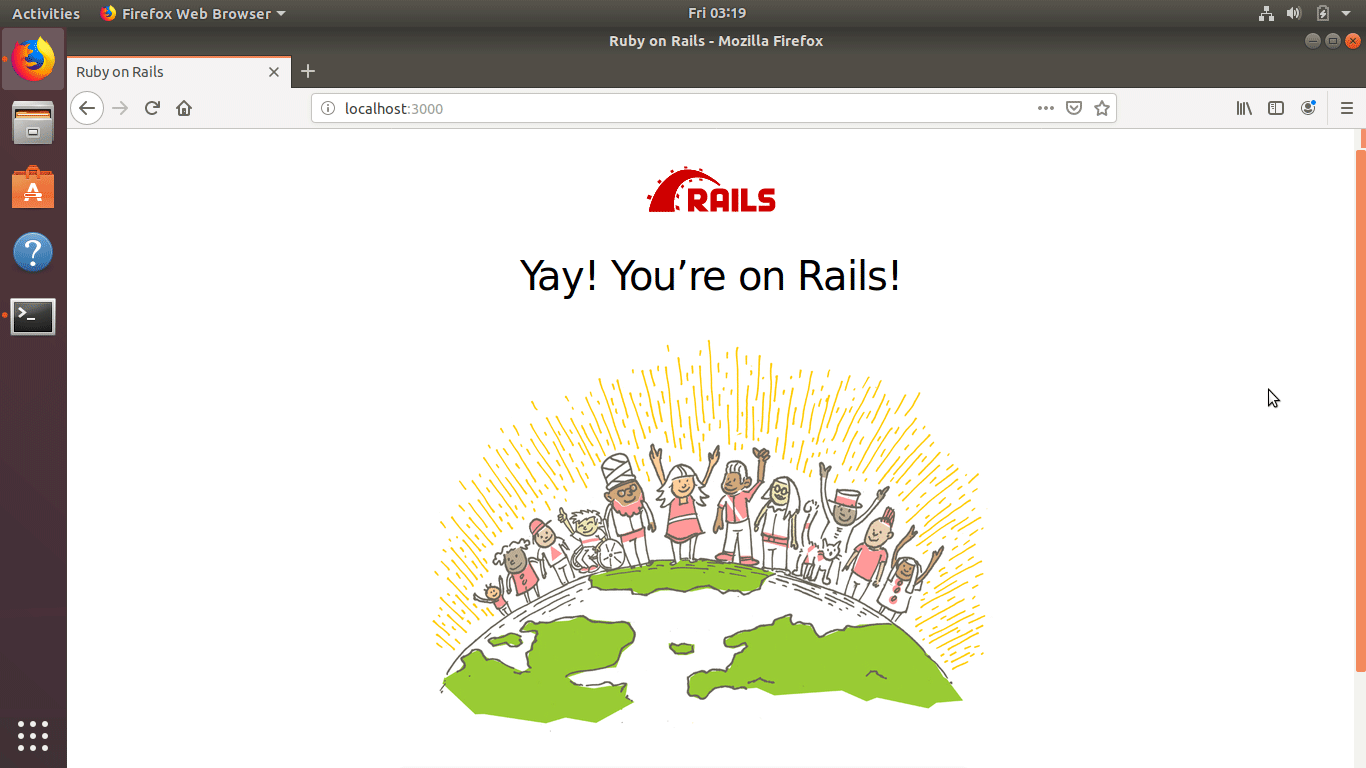
You will see the standard Rails welcome page showing the versions of Ruby and Rails installed on your Ubuntu Linux system.