How to Install and Configure UFW Firewall on Debian
In this article, we’ll learn how to set up the UFW firewall in Debian. UFW (Uncomplicated Firewall) is developed by Ubuntu, but it works well with Debian too. So let’s see how to do it.
Step 1: Install UFW
The first thing you need to do is install UFW because it’s not installed by default in Debian. You can install it using the following command:
apt update
apt install ufw
Step 2: Check UFW Service Status
After installing UFW, you can check its service status. Use this command:
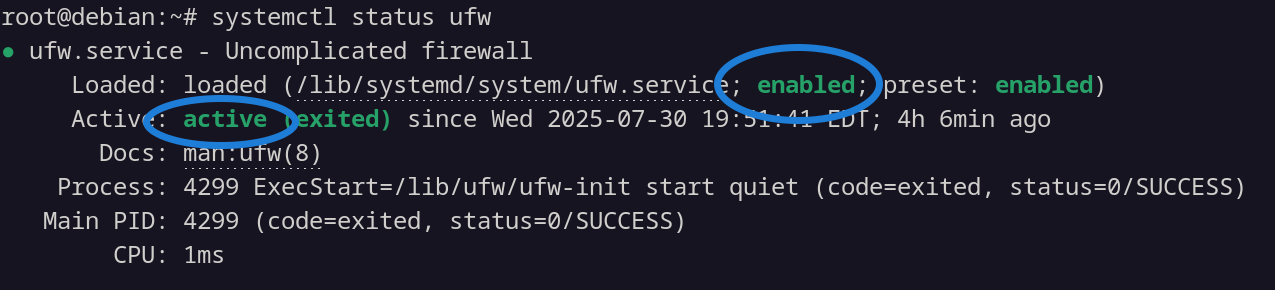
systemctl status ufwInitially, you'll likely see that the service is "inactive." The "enabled" status indicates whether it's set to start automatically at system reboot.
Step 3: Start the UFW Service
Next, we will start the UFW service. Execute this command:
systemctl start ufwNow, if you check the status again using systemctl status ufw, you should see that it's "active." If the service is not enabled to start automatically on boot, you can enable it with:
systemctl enable ufwStep 4: Enable the Firewall
At this point, the UFW service is running, but the firewall itself is not yet active. If you check the firewall status with ufw status, it will show as "inactive."
Before enabling the firewall, it's crucial to open the SSH port (port 22) to ensure you don't lock yourself out of your server. This allows you to maintain remote access. Use this command to allow SSH:
ufw allow 22Once the SSH port is allowed, you can enable the firewall using:
ufw enableStep 5: Verify Firewall Status
Now, the firewall should be active. You can verify its status by running:
sudo ufw statusThat's how you enable UFW in Debian. In the next article, we’ll learn how to open ports in UFW in more detail.