How to Activate Windows 10 Guest Account
The built-in guest user account in Windows is a limited user account with very limited access to the operating system. Guest user cannot see anyone else files and can't add or remove software.
The problem is Windows 10 guest account is disabled by default. You can enable it using Local Users and Groups but do not work as expected. However, there's a workaround that works.
What we need to do is to create a new local user account and then add that user to Guests user group.
For example, what I am going to do is, create a new local user called winguest(We can't use the name Guest because it reserved by the Windows 10 system) and then add winguest to the Guests local group.
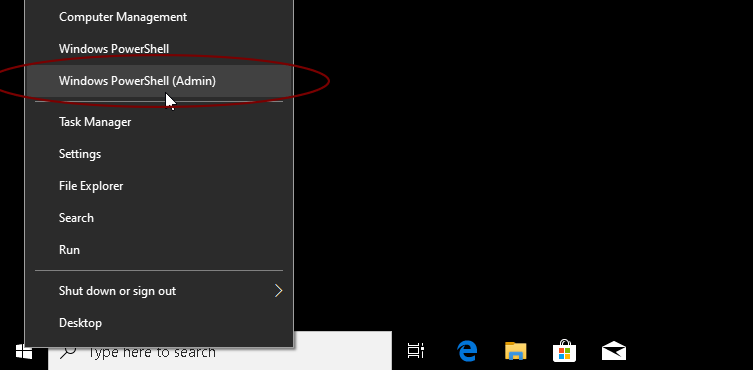
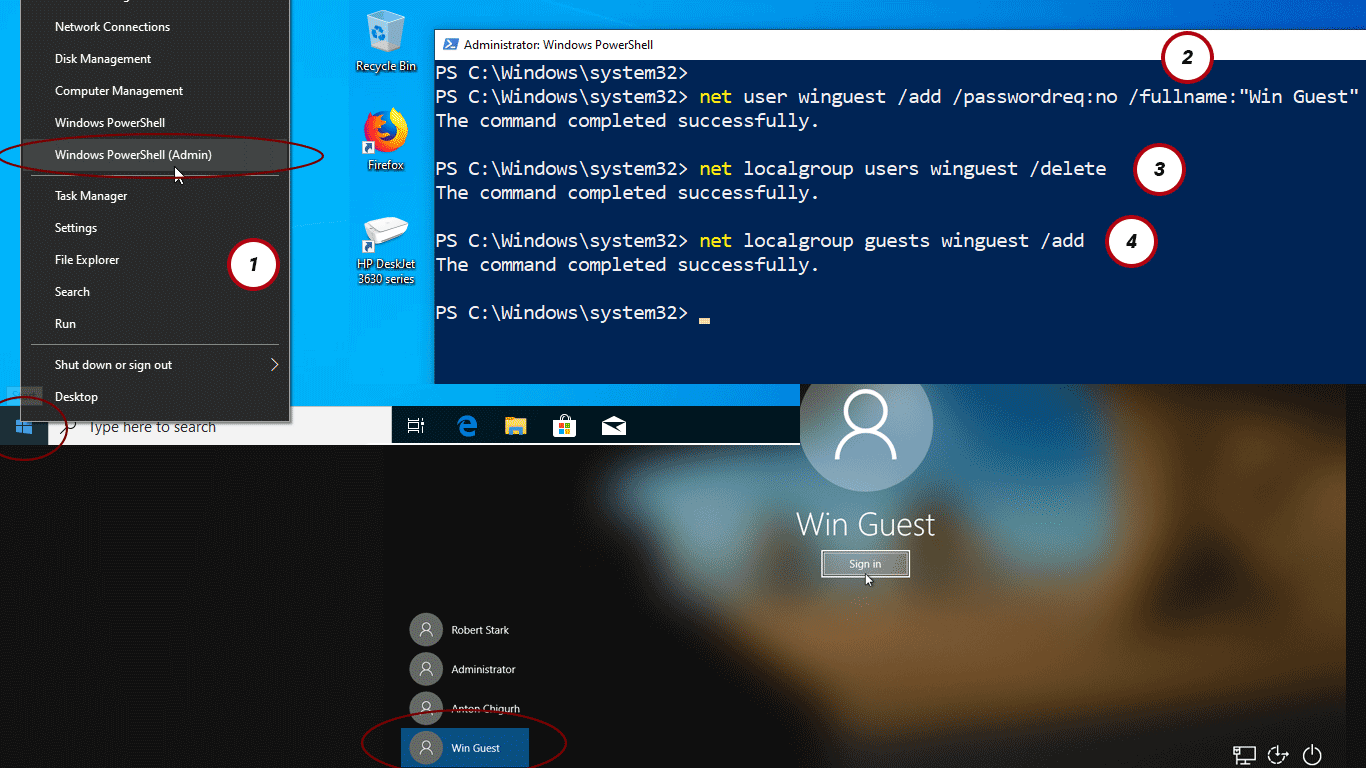
Open Windows Powershell: Right click on the Start button and choose Windows Powershell (Admin).
Create a new user by running the following command:
net user winguest /add /passwordreq:no /fullname:"Win Guest"Our new user will be a member of the Users local group by default. But we don't need that, so run the following command to remove winguest from Users group:
net localgroup users winguest /deleteAt last, we are going to add winguest user to the Guests user group:
net localgroup guests winguest /addNow anyone can log on to your PC as a guest without having to enter a password.
The person can use the PC (for example, browse the web or playing games) but can’t see anyone else’s files or make any changes to your Windows 10 computer.
When you no longer need the guest account, you turn off the winguest account with following command.
net user winguest /active:noIf you ever want to give temporary access to your Windows 10 PC, create a guest user account and give the user access to the PC and then deactivate the guest account.