How to Allow an App Through Windows Firewall
In this tutorial, we will learn how to configure Windows Firewall to allow apps to communicate through Windows Firewall.
Windows Firewall has a preloaded list of all the installed applications and services on your PC in which you can choose to allow or block an app. Alternatively, one can also use the netsh CMD command.
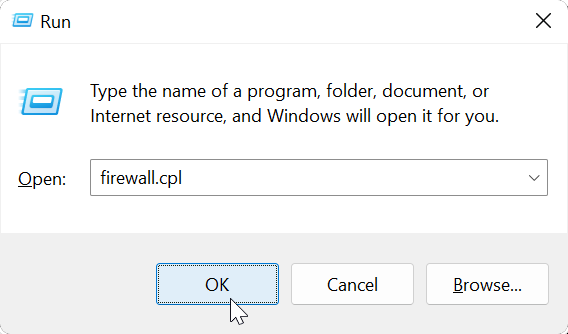
To see the Allowed apps, first, you need to open the Windows Firewall (press Windows Logo + R, type firewall.cpl, and press Enter).
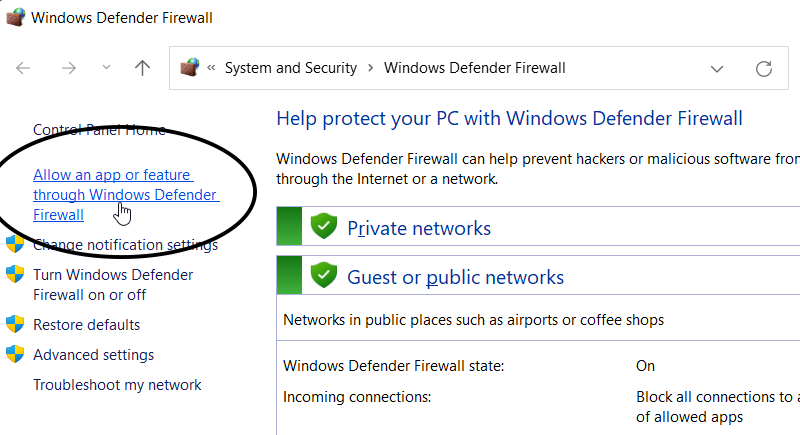
In the left pane of the Firewall window, select Allow an app or feature through Windows Defender Firewall.
In the next window, you will see a list of installed apps and services (the list is grayed out).
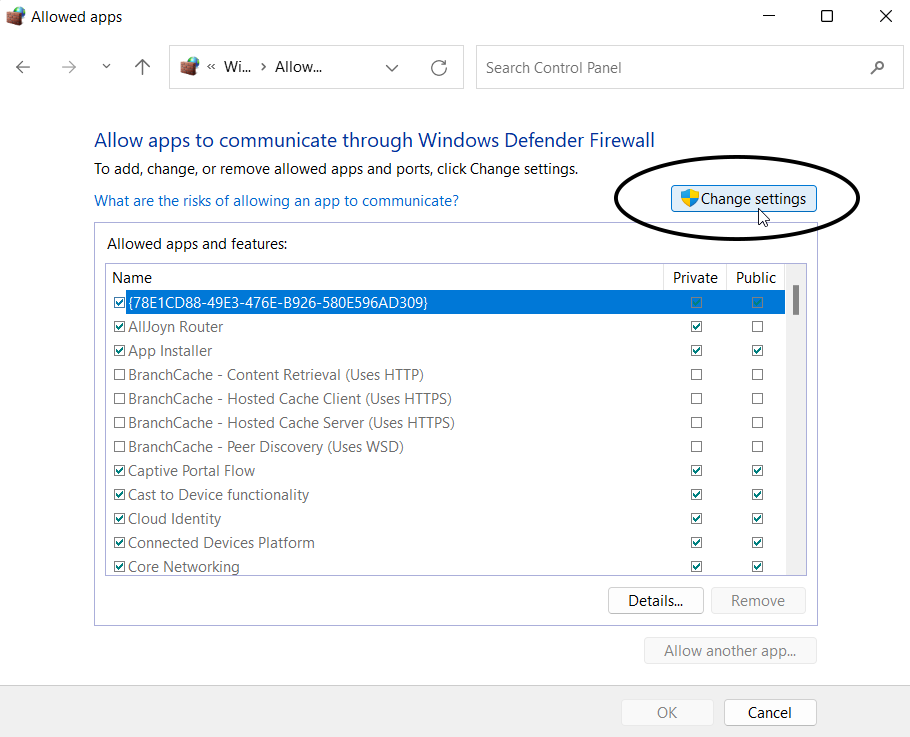
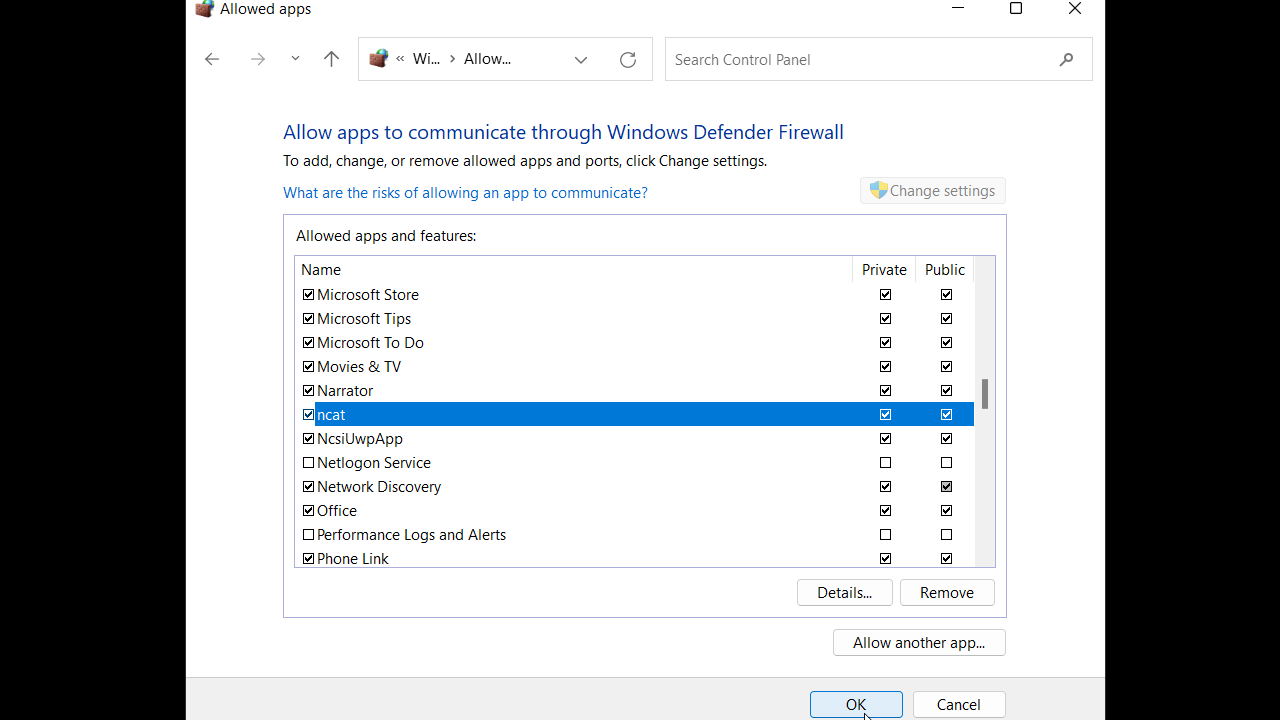
To allow or block an app, click on the Change settings button. Then locate the app, and activate the checkbox left to its name and the appropriate network profile(s) to the right.
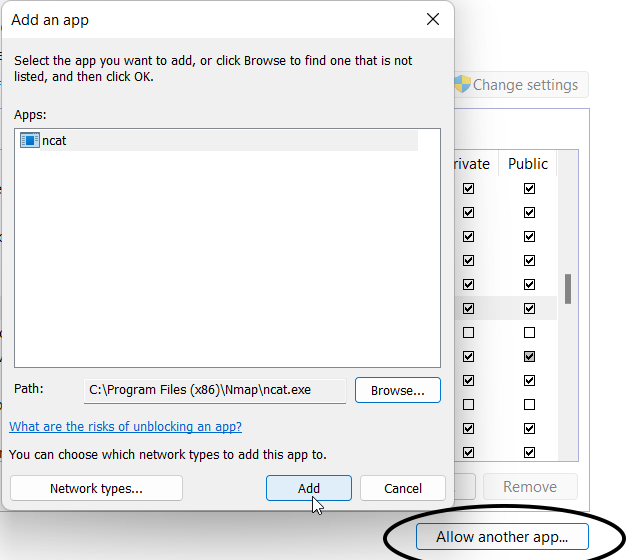
If the app doesn’t appear in the list, click the Allow another app button to browse the program file (.exe file).
Using netsh command
The following example shows how to use the netsh command to allow an app through the Windows Firewall.
netsh advfirewall firewall add rule name="netcat" dir=in program="C:\program files (x86)\nmap\ncat.exe" action=allowIn the example, we allowed ncat.exe to communicate through the Windows Firewall by creating a new inbound rule named netcat. The following command deletes the above Firewall rule:
netsh advfirewall firewall delete rule "netcat"And that is it! You can use the instructions mentioned in this tutorial on Windows 10, 11, and Server operating systems to allow an app through the firewall.