How to Create a Local Account in Windows 10
Prior to the Windows 8, local accounts were the standard user type in Microsoft Windows. Windows 10 now use the Microsoft account as the standard account type in which the user needs to register their account using their email address (such as @outlook.com) and all user settings are synchronized with the Microsoft cloud.
However, local accounts are still supported in Windows 10 and many PC users prefer local accounts over Microsoft account, especially if the user has privacy and data security concerns.
If you want to create a local account, perform following steps:
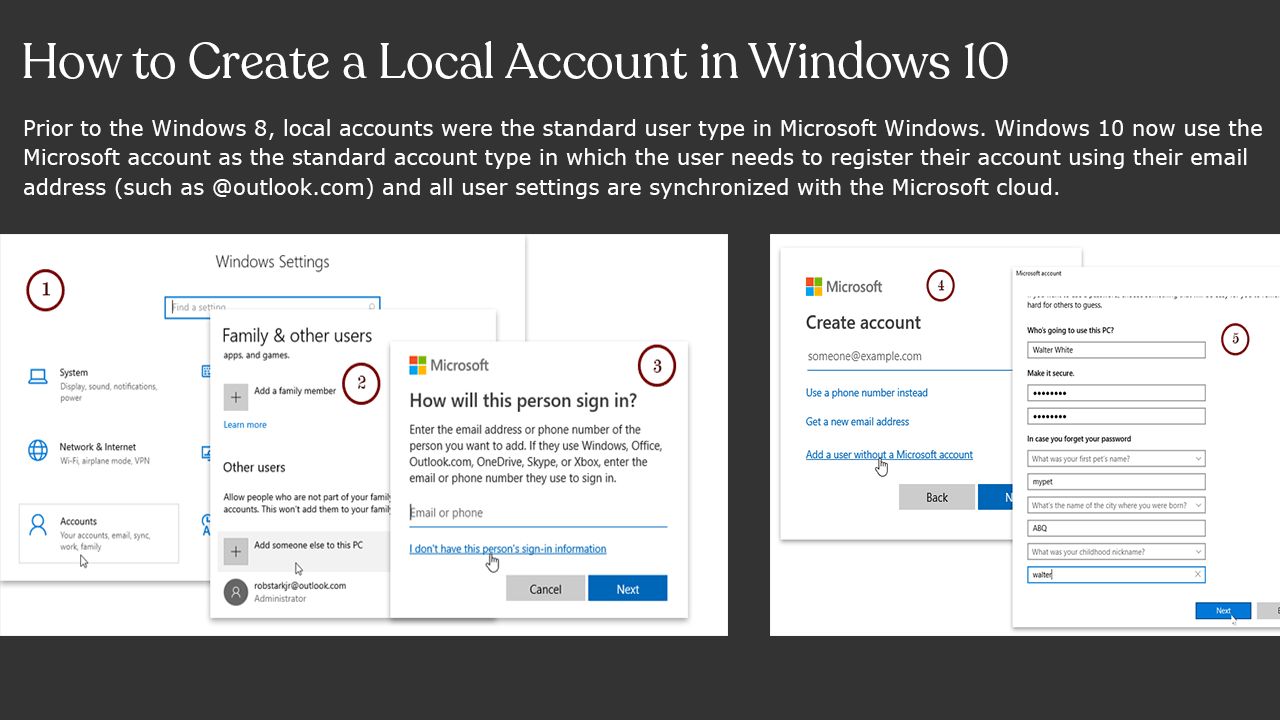
- On your computer, press the Windows key + I key to open Windows settings. And select Accounts.
- From the Family & other users settings, under the Other users section, click Add someone else to this PC.
- Click I don’t have this person’s sign-in information.
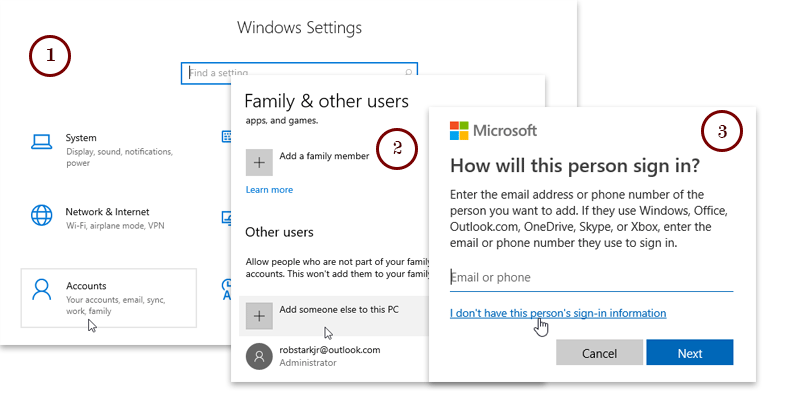
- Without filling out the form provided, click on the Add a user without a Microsoft account link.

- Type the user name of new local user and new password twice, also you need to set up three security questions. You need to answer these questions, in case you forgot the password.
- Click Next, local account you added are now listed on the Family & other users section.
The new local account will be a Standard User. If you want to change the account type to Administrator, click on the user and select Change account type.
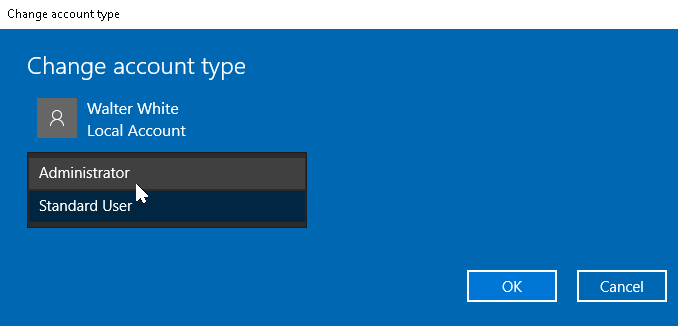
Select Administrator from the drop-down menu and click OK.