How to Disable or Remap the Caps Lock Key in Windows 11 (2026 Guide)
In this guide, I will show you how to disable or reassign the Caps Lock key in Windows 11. To do this, we first need to install a utility called Microsoft PowerToys, which is official software provided by Microsoft.
How to Install Microsoft PowerToys
We can install PowerToys from either the Microsoft Store or using the Winget package manager.
To install it using Winget, open Command Prompt or Windows Terminal and run the command to install PowerToys.
winget install --id Microsoft.PowerToys --source wingetEnable the Keyboard Manager Tool
Once you have installed PowerToys, open the application. It may open automatically, but you can always find the shortcut in the Start menu.
PowerToys includes several productivity tools. The one we need is the Keyboard Manager.
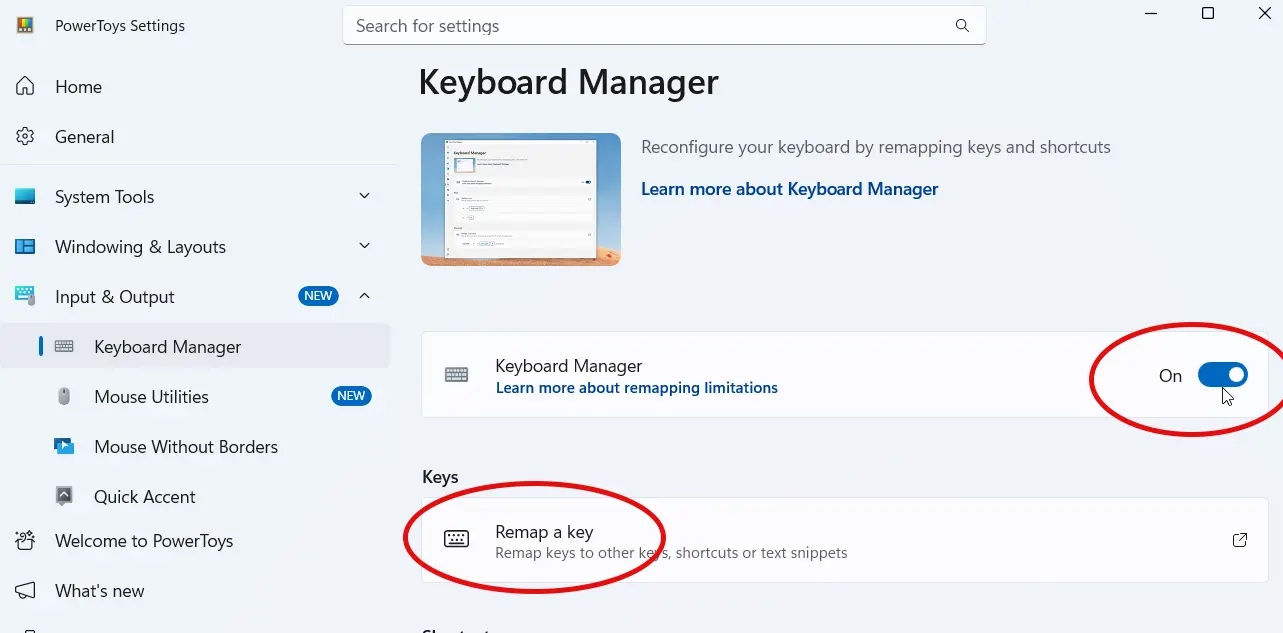
- Search for Keyboard Manager using the search box inside PowerToys.
- Ensure the switch to Enable Keyboard Manager is turned On.
How to Disable the Caps Lock Key
To turn off the key entirely, follow these steps:
- Click the Remap a key option.
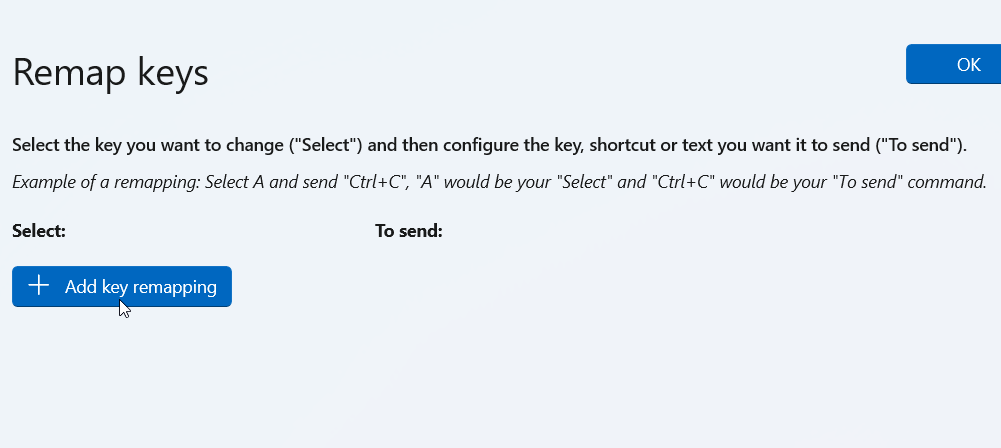
- Click the Add key remapping button.
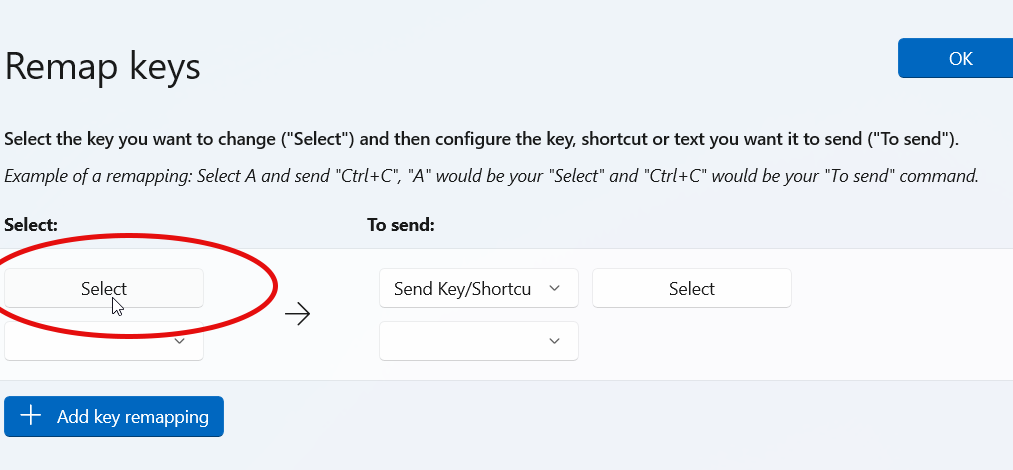
- Click the Select button on the left side.
- Press the Caps Lock key on your keyboard to select it, then press OK.
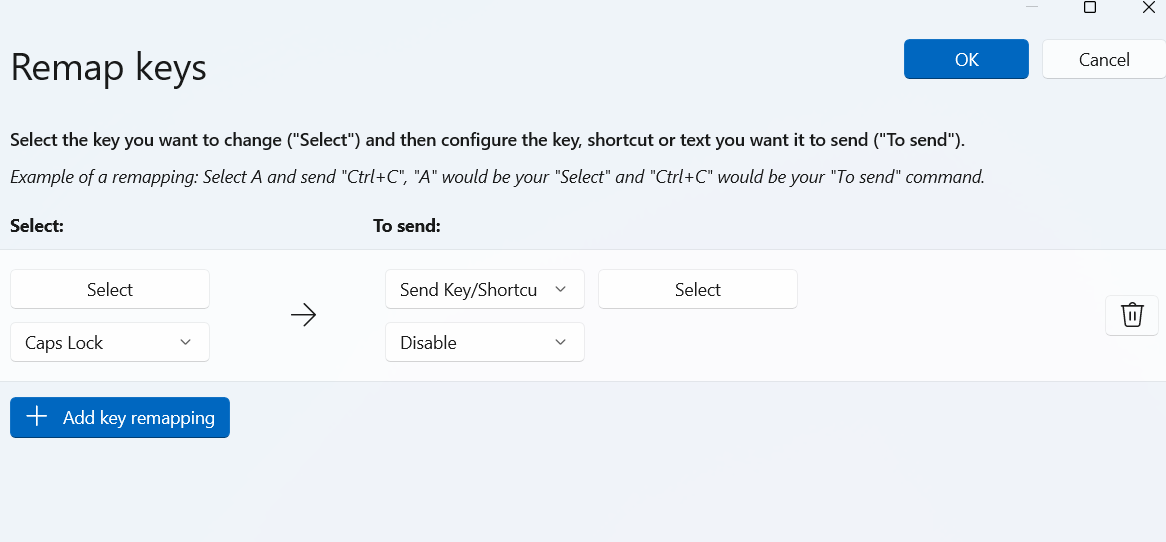
- In the "To send:" column in the middle, click the drop-down menu and select Disable.
- Click OK, and the Caps Lock key will now be disabled.
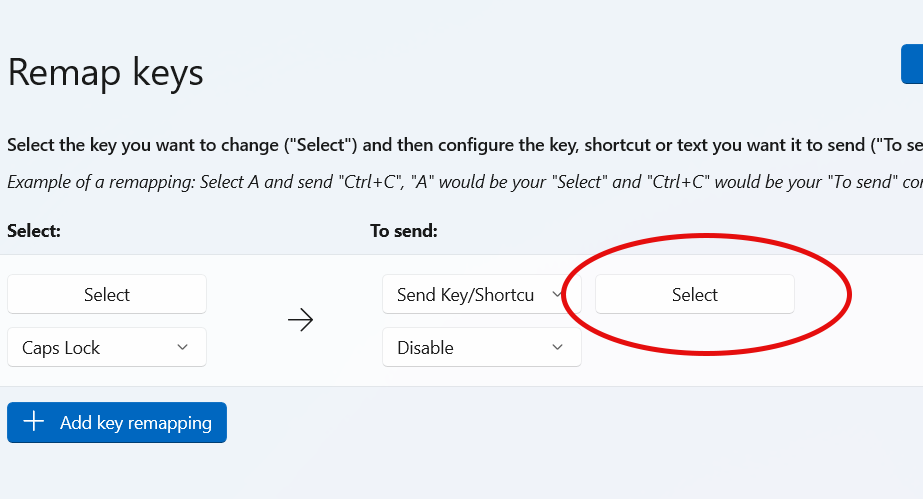
How to Reassign Caps Lock to a Shortcut or Text
Instead of disabling the key, you can reassign it to a different function or a custom keyboard shortcut.
For example, if you want Caps Lock to trigger Ctrl + A:
- Click the Select button on the right side.
- Press the keyboard shortcut you want to assign.
- For example, press Ctrl + A.
- Click OK and save the setting.
That is how you disable or remap the Caps Lock key in Windows 11 using Microsoft PowerToys.