How To Disable IPv6 on Windows 10/11
IPv6 was designed to solve the problems of IPv4. But not all personal computers need IPv6, especially if you hide your internal networks behind firewalls and NATs.
If you decide you need to disable IPv6 on a Windows computer, there are two ways you can do this.
- Disable IPv6 from individual network adapters.
- Disable IPv6 from the entire computer by editing the Windows Registry.
Disable IPv6 on a Network Interface
Use the following method if your computer has only one network interface or if you don't want to edit the Windows registry.
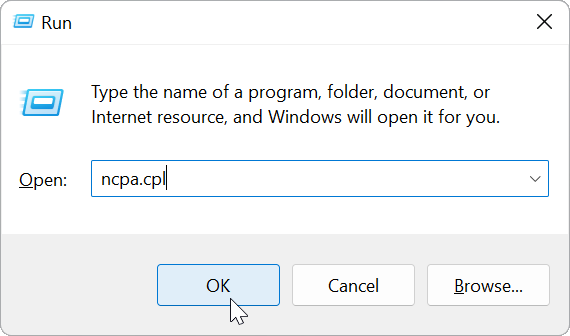
Start by opening the Network Connections window (press Windows Logo + R, type ncpa.cpl, and press Enter).
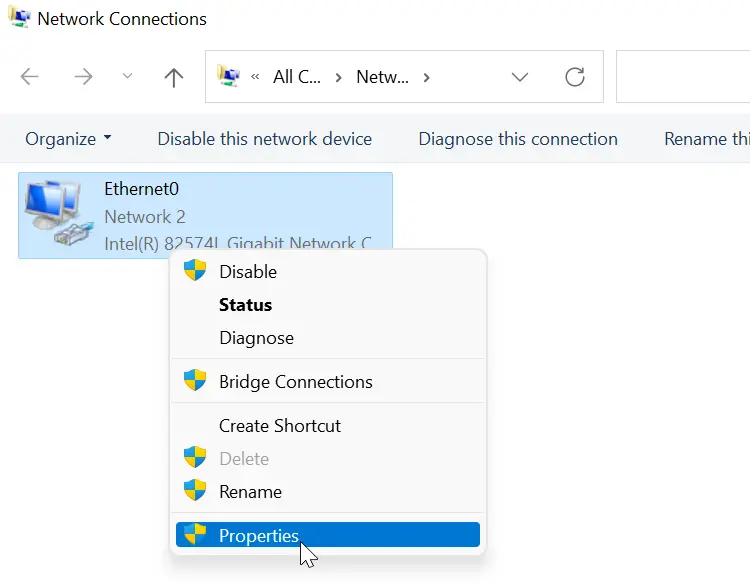
Next, right-click the network adapter and then choose Properties.
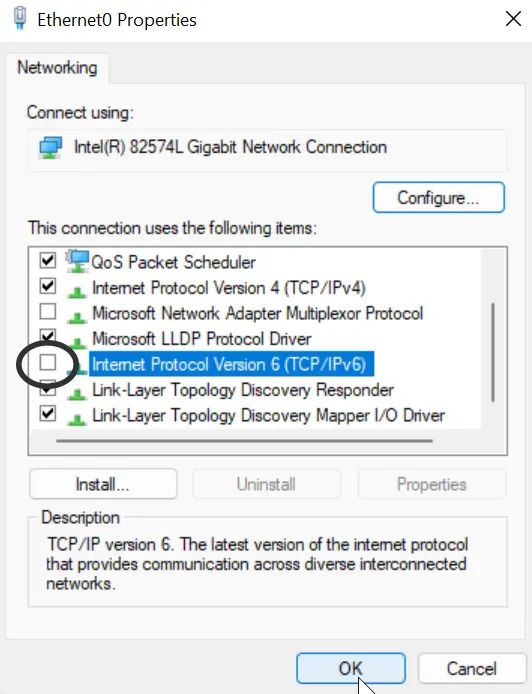
Clear the Internet Protocol Version 6 (TCP/IPv6) check box, and click OK.
If your computer has multiple network interfaces, you will have to repeat this process on each interface.
Disable IPv6 by Creating a Registry Key
We can disable IPv6 on all network adapters by creating the following registry key: HKLM\SYSTEM\CurrentControlSet\Services\tcpip6\Parameters\DisabledComponents.
We can do this by executing the following PowerShell command:
New-ItemProperty "HKLM:\SYSTEM\CurrentControlSet\Services\Tcpip6\Parameters" -Name "DisabledComponents" -Value 0xffffffff -PropertyType "DWord"After that, restart the computer for this registry value to take effect.

To enable IPv6 again, delete the DisabledComponents registry key using the following PowerShell command:
Remove-ItemProperty -Path "HKLM:\SYSTEM\CurrentControlSet\Services\Tcpip6\Parameters" -Name "DisabledComponents"By setting the value of DisabledComponents to 0xFF, we disable IPv6 on all interfaces.