How to Edit Hosts File in Windows 10/Windows 11/Server
This tutorial explains how to edit the hosts file in Windows 10/11 operating systems. In the early days of the Internet, there were not many computers, so instead of DNS servers, the hosts file was used for name resolution.
The hosts file still exists in almost every operating system. On a Windows system, you can locate the hosts file under the C:\Windows\System32\drivers\etc folder. The file is called "hosts" (no extension).
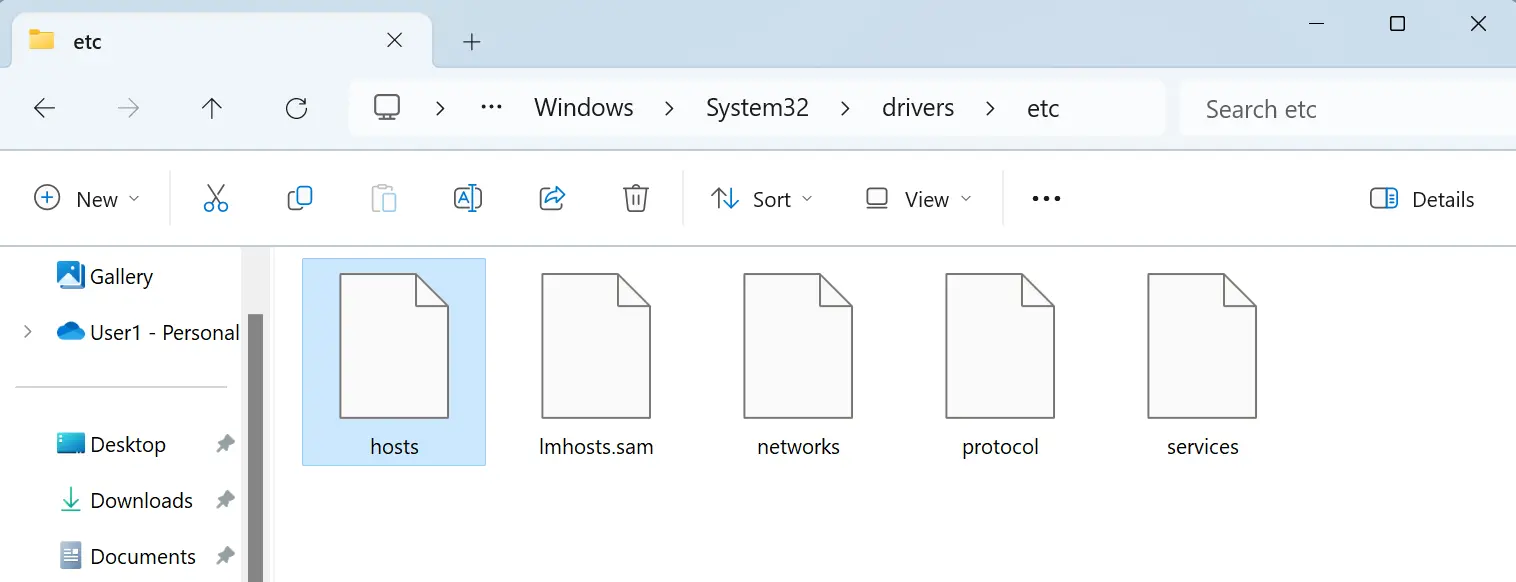
As shown in the following image, the Windows hosts file displays domain names and their corresponding IP addresses. All the lines that start with a pound sign (#) in the hosts file are comments.
However, to edit this file, you need administrative privileges. First, we need to open your text editor (Notepad) as an administrator. Then, we can open and edit the Windows 10/11 hosts file.
- Open Notepad - Click on the Start button and search for Notepad. Then, right-click on Notepad and select "Run as administrator".
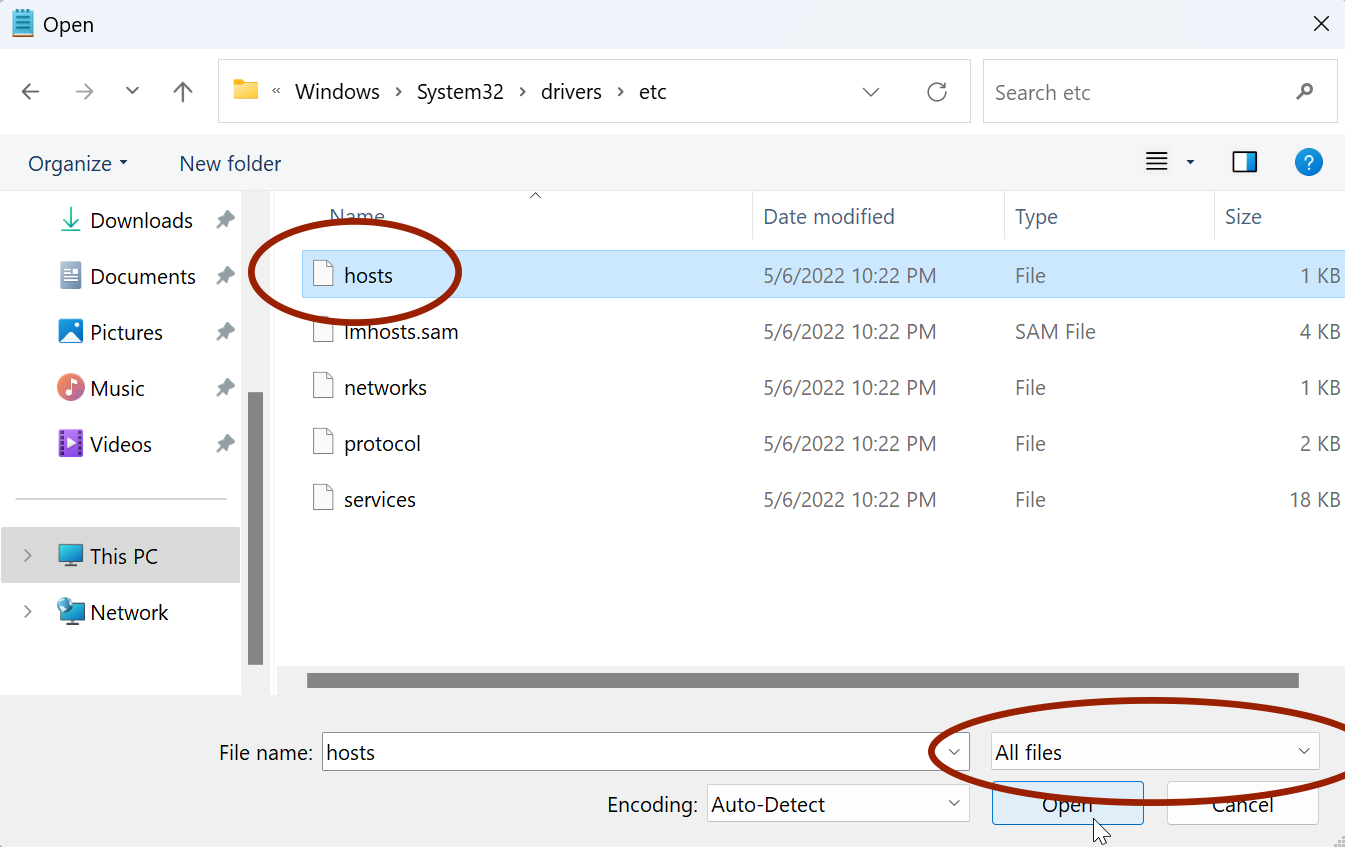
- Open the hosts file - In Notepad, go to File > Open and navigate to the
C:\Windows\System32\drivers\etcfolder to open the hosts file. Make sure to select the "All Files" option from the drop-down menu next to the file name."

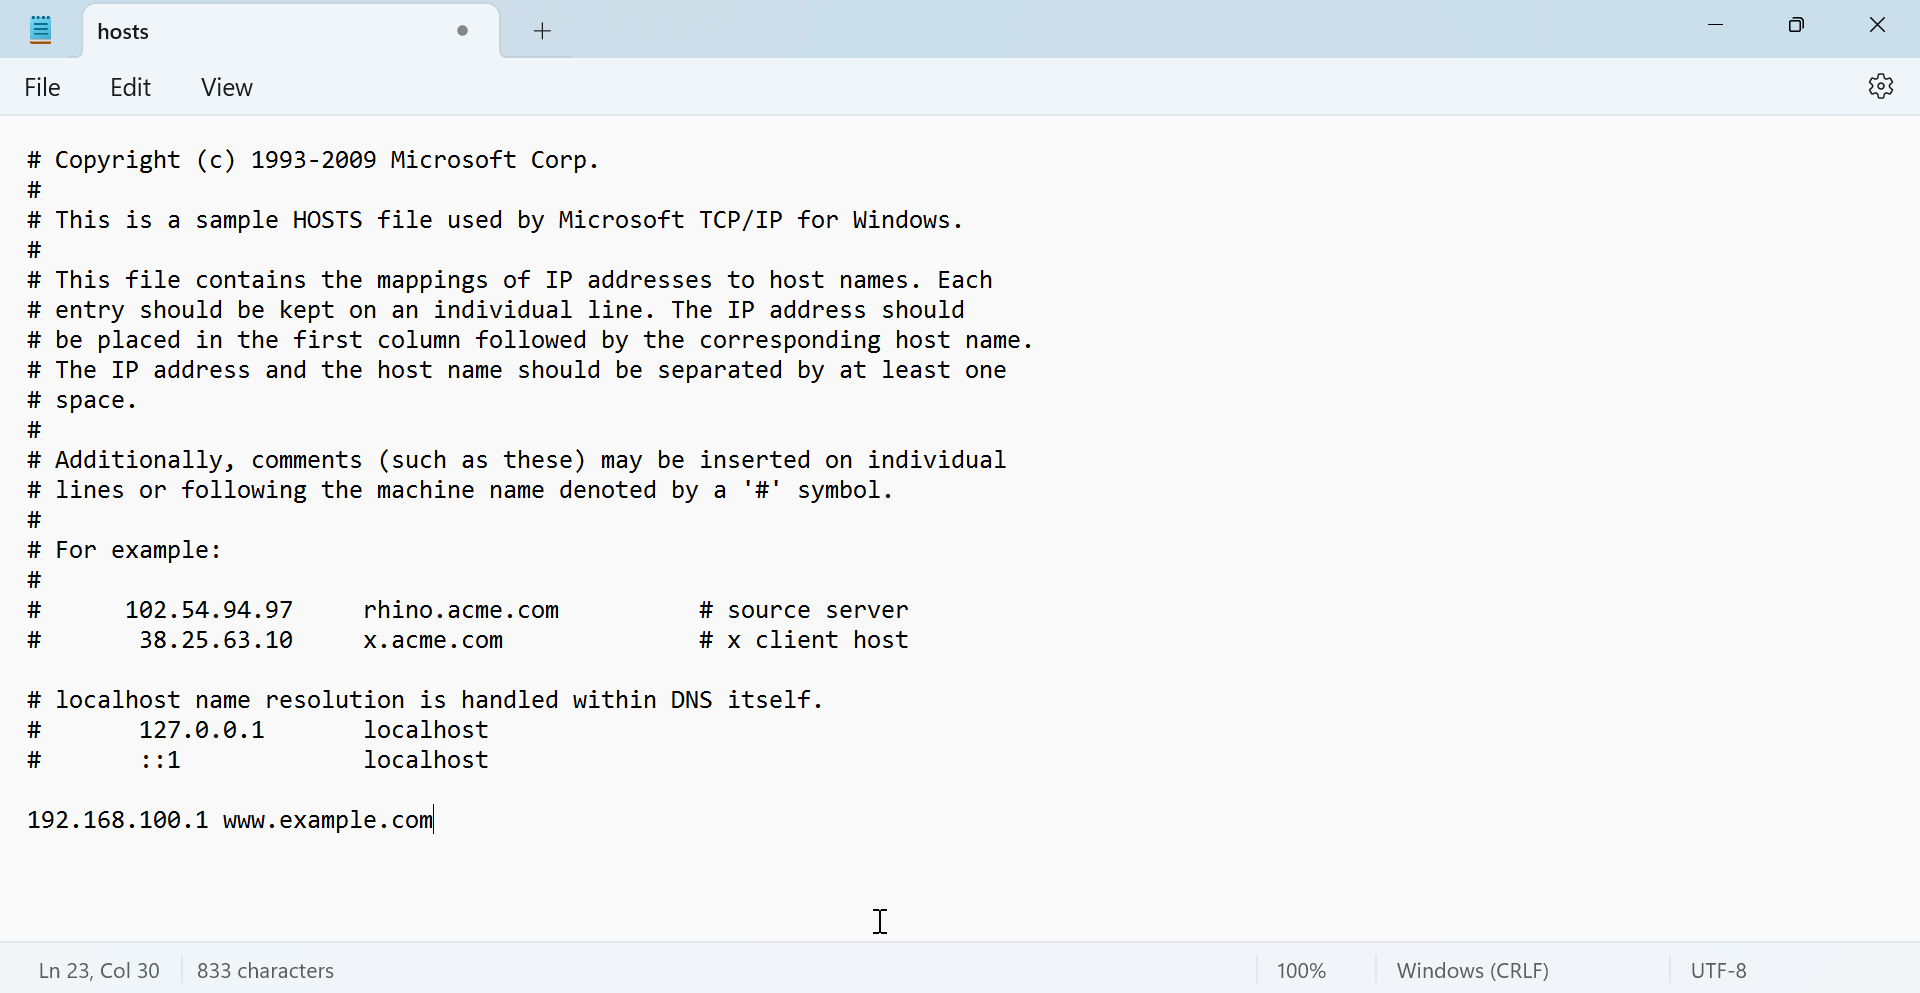
Now you can add DNS entries to the file. First, add the IP addresses, followed by some whitespace (tabs or spaces), and then the computer/domain name.
Here's an example of how you might redirect the domain www.example.local to the IP address 192.168.100.1 in the hosts file:
192.168.100.1 www.example.local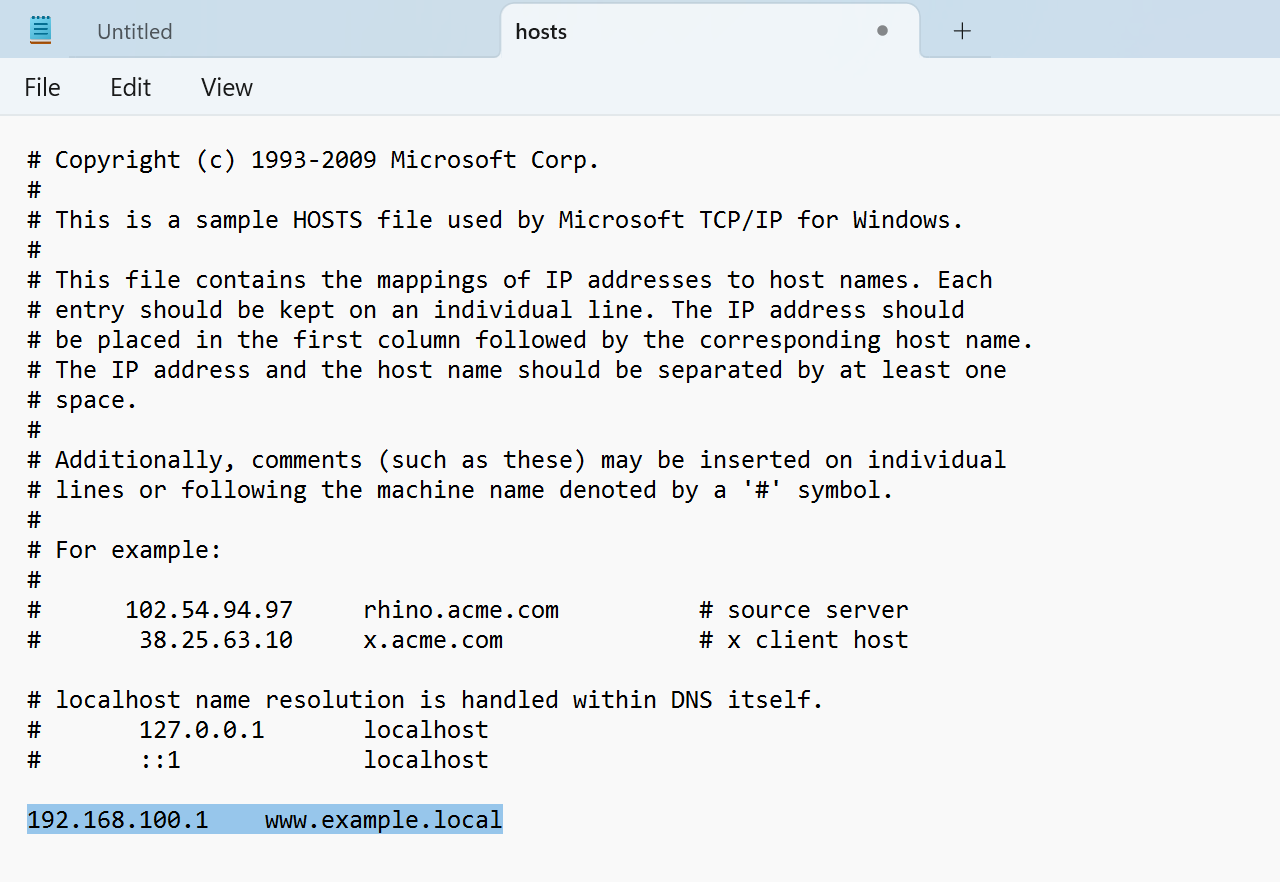
Windows' domain name lookup software looks first in the hosts file before consulting DNS servers. If an entry is found in this file, Windows will not communicate with a DNS server to obtain the IP address for the given domain name.
Note that the hosts file location and the way you edit it are the same on all Windows operating systems, whether you use Windows 10, Windows 11, or Windows Server.