How to Install dig Command on Windows (10, 11, Server)
If you want to use the dig command (Domain Information Groper) on Windows, you can install it easily with the Winget package manager. This guide works on Windows 10, Windows 11, and Windows Server 2025.
Quick Steps
- Open Terminal (PowerShell or CMD, no admin needed).
- Run
winget search bindto find the package. - Install with
winget install ISC.BIND. - Restart the terminal.
- Test with
dig example.com.
Step 1 – Open a Terminal
We will install dig on Windows using the Winget package manager. Start by opening a Command Prompt or PowerShell console. You don’t need to run it as administrator.
- Right-click the Start button
- Choose Terminal
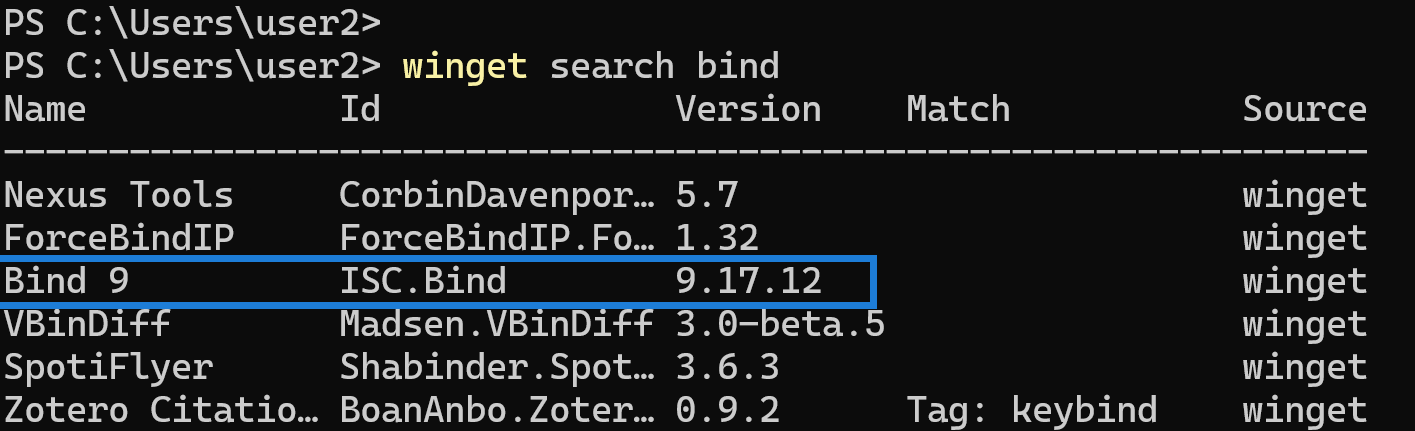
Step 2 – Search for the Package
The dig command is provided by the BIND package. To find it, run:
winget search bindThis will show you the package details and the package ID.
Step 3 – Install dig Command
To install the package, use:
winget install isc.bindThis installs the BIND package, which includes the dig command.
Step 4 – Restart the Terminal
Before running dig, you need to restart your terminal. This ensures the system recognizes the new command.
Step 5 – Test dig Command
Now, run:
dig example.comYou should see the output with multiple ANSWER records for example.com. This confirms that the dig installation works.

Using the dig command
The basic usage of the dig command is to specify the domain name you want to look up and the type of record you want to query, such as A for address records or MX for mail exchange records. Let’s look at a couple of examples.
Find the IP Address of a Website or Domain (A Record):
dig example.com aFind the IPv6 Address of a Domain (AAAA Record):
dig example.com aaaaSpecify the Nameserver to Query:
dig example.com a @8.8.8.8In this command, 8.8.8.8 is the nameserver being queried instead of the default system resolver. This allows you to check how different DNS servers respond.
Look Up MX Records (Mail Exchange Records):
dig example.com mxThe -x option in dig allows you to perform a reverse DNS lookup by specifying an IP address. For example:
dig -x 8.8.8.8The types of DNS records you can query include A, AAAA, MX (Mail Exchanger), NS, and TXT.