Install XAMPP Server on Windows
LAMP is a term describing a software package that includes Apache Web Server, MySQL Database and PHP programming language. XAMPP is one such package that provides all of these components for Windows operating system.
XAMPP is a distribution includes Apache, MySQL and PHP, it also includes phpMyAdmin, graphical user interface to manage MySQL Database Server.
Do the following steps to install and run xampp server on Windows 10/Windows Server 2016.
- Download XAMPP for Windows.
- Run XAMPP Windows installer.
- Start Apache and MySQL from XAMPP control panel.
Download XAMPP for Windows
You can download XAMPP for windows from the xampp web page apachefriends.org.
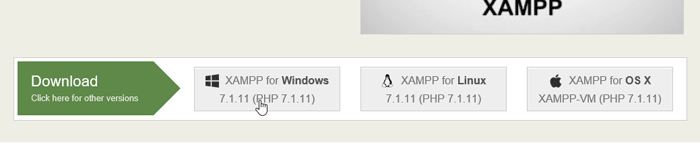
Download and save the windows version of the xampp installer to your PC.
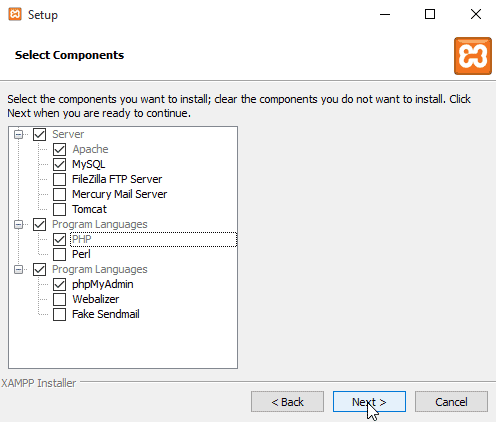
Run XAMPP Windows installer
After the download is finished, Double click and run the .exe file to start windows xampp wizard.
When selecting the components make sure to select Apache, MySQL, PHP and PHPMyAdmin. You can skip FileZilla FTP Server, Mercury Mail Server, and Tomcat if you don't need those components.
Next, You will be prompted for the location to install XAMPP Server. Let's just leave it to the default location at C:\xampp and then click on Next to finish installation.
Start Apache and MySQL from XAMPP control panel
In the XAMPP control panel, you will be able to start, stop, and restart services that were installed with XAMPP. We can start Apache and MySQL Server by clicking on Start next to the service name.
To open phpMyAdmin, Open the web browser and Type:
http://localhost/phpmyadminXAMPP Document Root
The C:\xampp\htdocs folder is the document root folder of your web server in Windows. Everything that you save on htdocs folder can be accessed via web browser. For example, if you save index.php inside the htdocs folder, you can access this page by entering http://localhost/index.php.