How To Install Netcat on Windows
In this tutorial, you will learn how to download and install Netcat on Windows 11/10 /Server.
Netcat is a network security tool that administrators can use for a variety of network operations, such as checking open ports, transferring data over a network connection, and security assessments.
Downloading Netcat for Windows
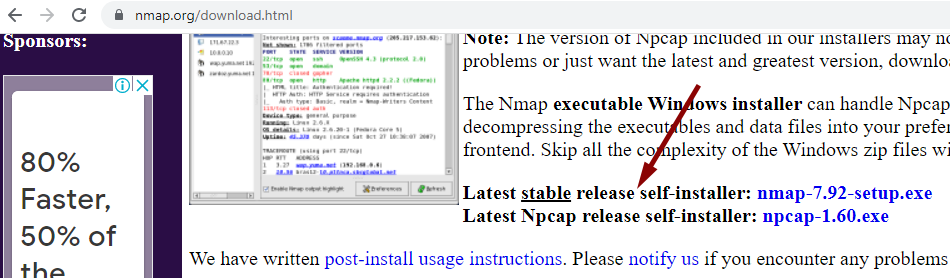
For Windows, you should install the Netcat (Ncat) package that comes with Nmap, which you can download from This link.
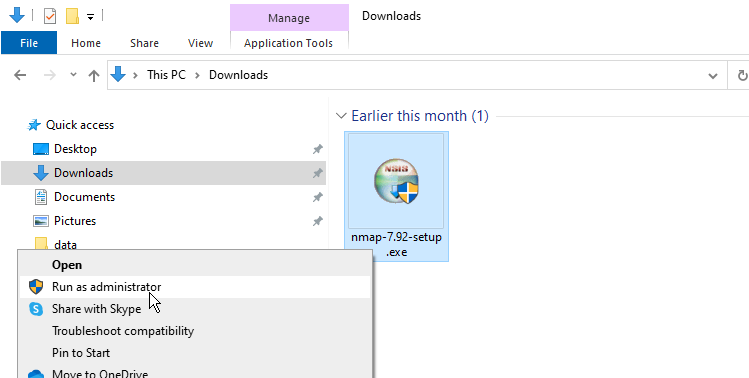
After the download is finished, right-click the setup and select Run as administrator to begin the installation.
When selecting components to install, choose all packages that come with the Nmap installer.
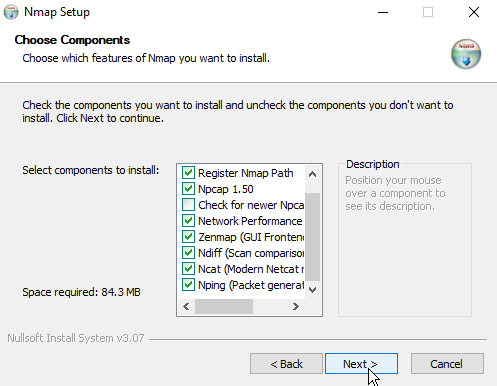
Before continuing, ensure that the Ncat and the Register Nmap Path options are selected, as shown in the above screenshot.
Ncat Command
The name of the Netcat command-line tool is called ncat, which you can run from either Windows Terminal, CMD, or PowerShell.
To check the Netcat version installed on your Windows PC, open a command prompt and execute the following command:
ncat --version
To display the help page, run the following command:
ncat -h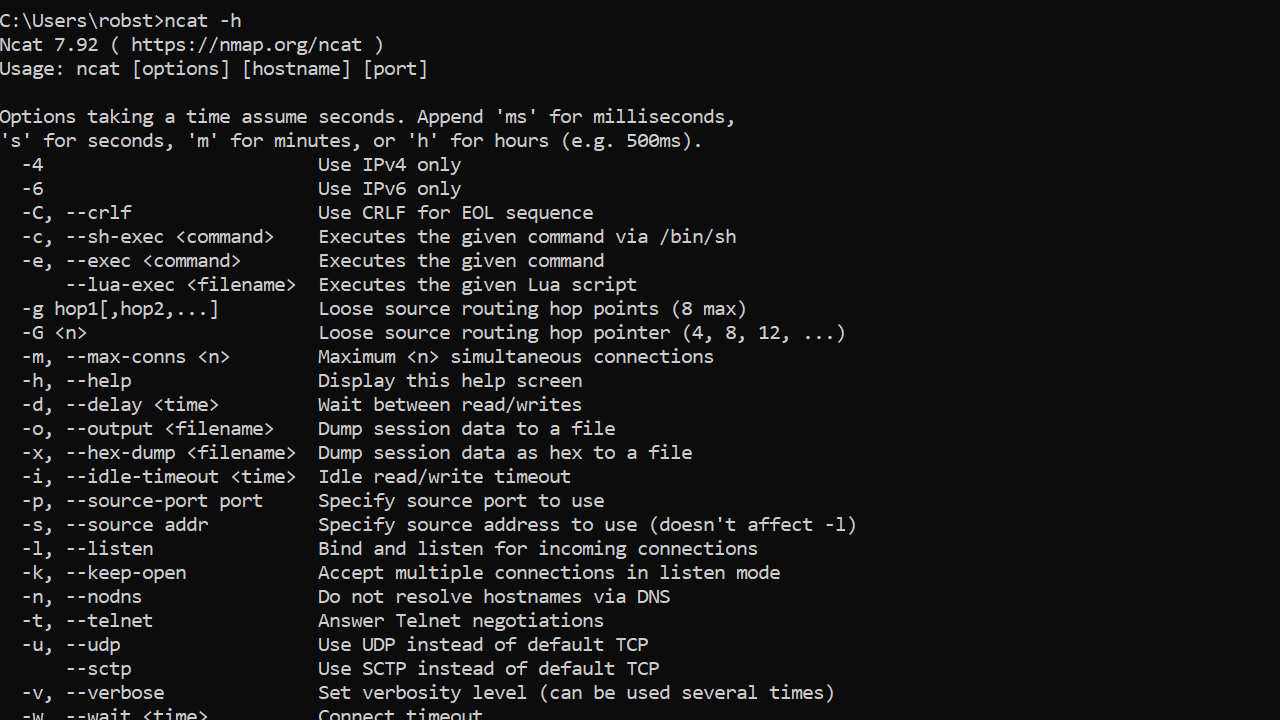
Apart from ncat, the nmap command also will be available from the command prompt.
And that's it. Now you have a working installation of Netcat on your Windows computer. You can use this guide to install Netcat on Windows 10, 11, or Server.