How to Install VirtualBox Guest Additions in Windows 10
The following guide explains how to install VirtualBox Guest Additions in Windows 10 Virtual Machine.
When you first install Windows 10 in Oracle VM VirtualBox, some advanced features won't be enabled (as well as correct screen resolution) without guest additions. The features enabled by Guest Additions are: correct screen resolution, mouse pointer integration, seamless windows, time synchronization, shared folders, and shared clipboard.
We can install VirtualBox Guest Additions in Windows 10 by performing these steps:
Access the virtual machine's menu and go to devices and click: "Install Guest Additions CD Image…".

Go to My Computer (This PC in Windows 10) and open the Guest Additions CD drive under the Devices and drivers section.

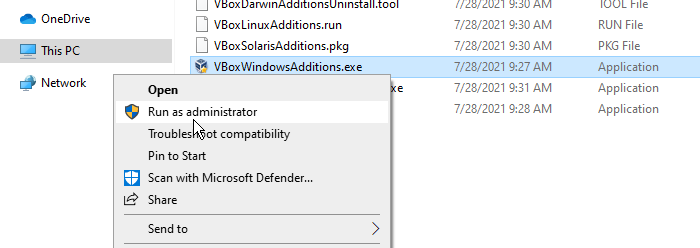
When you double-click the CD drive, the installer may start automatically. If not, right-click on VBoxWindowsAdditions and select Run as administrator.
The Guest Additions Setup Wizard will start automatically.
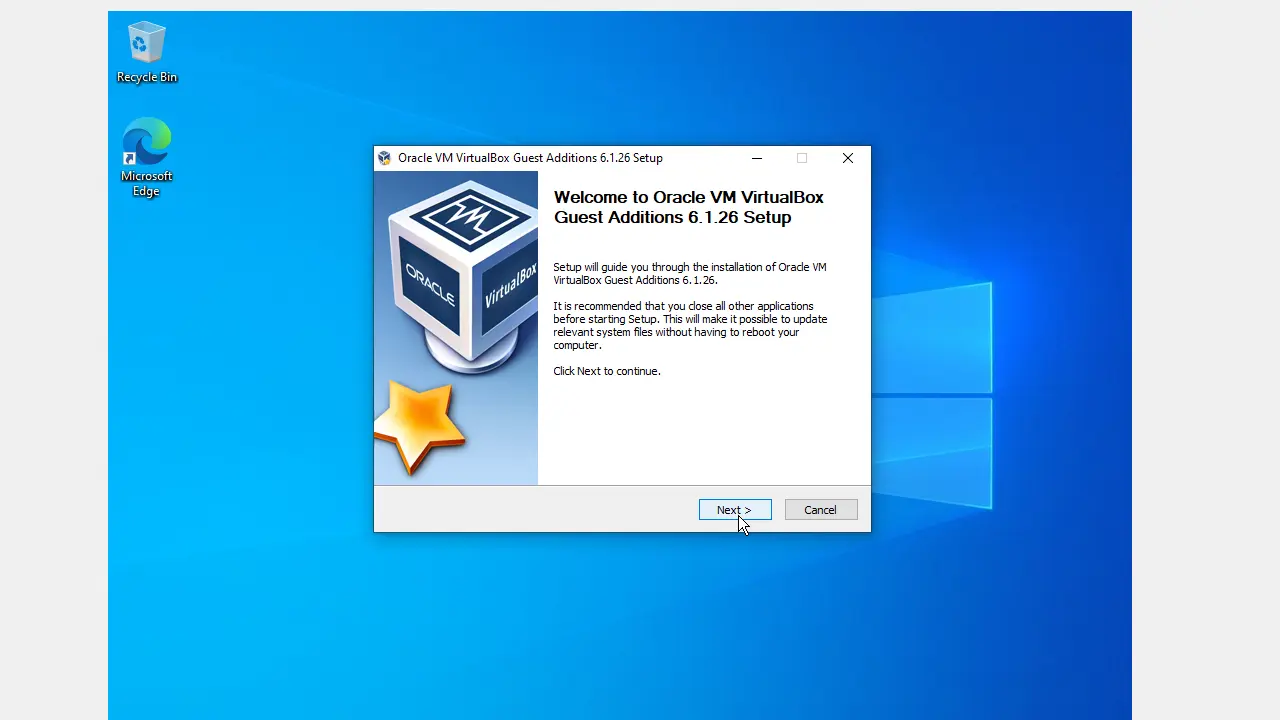
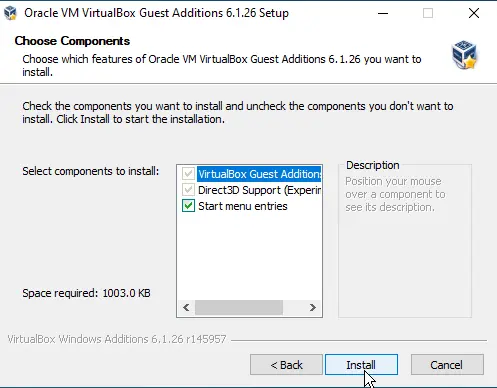
Click Next to continue with default settings and click on Install to begin the process. The setup wizard will begin to install VirtualBox Guest Additions on Windows 10.
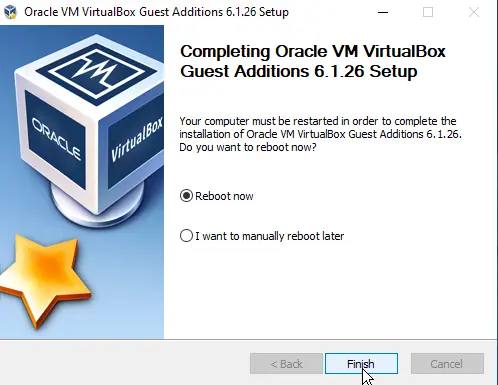
To complete the installation process, we need to reboot the virtual machine. Click on Finish to reboot Windows 10 VM.
With the Guest Additions installed, you'll be able to access advanced virtual machine features such as keyboard and mouse integration, 3D and 2D video acceleration features, Shared clipboard, Shared folders.