How to Generate Self-signed SSL Certificate using OpenSSL in Ubuntu 18.04
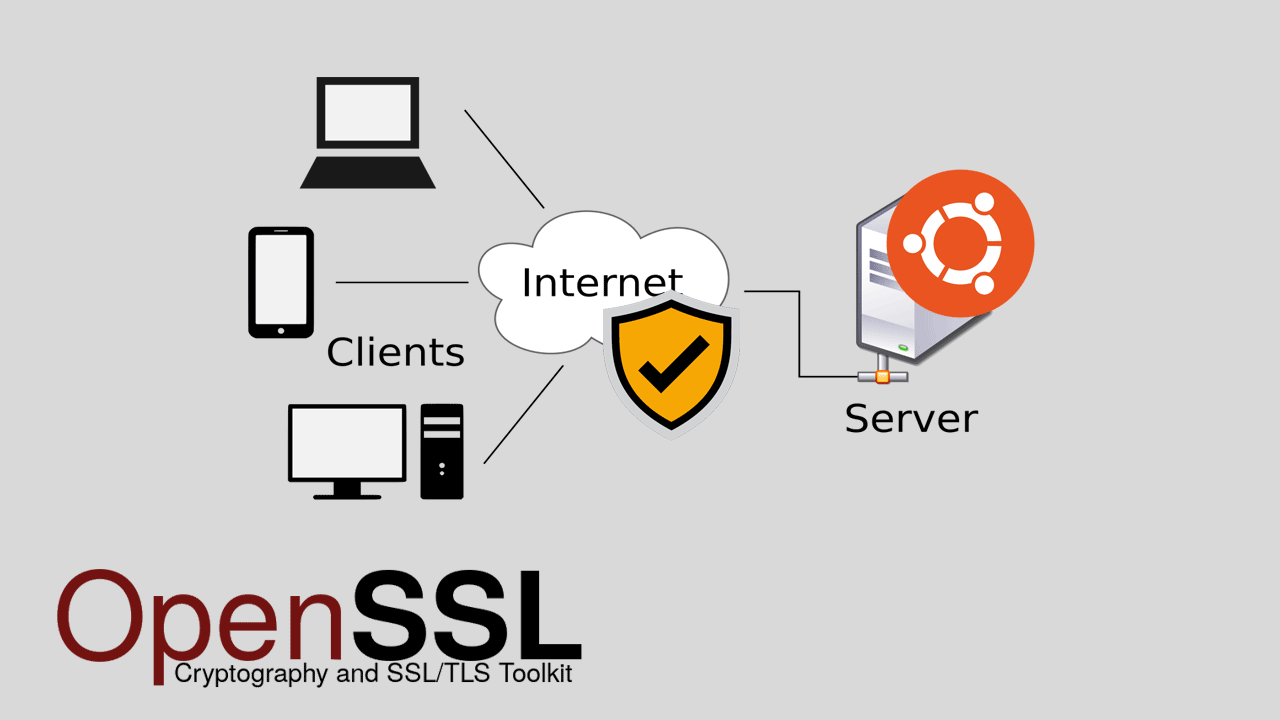
In this tutorial we will learn how to configure Ubuntu Apache2 web server with Secure Sockets Layer /Transport Layer Security (SSL/TLS) by installing a Self-signed SSL certificate using OpenSSL.
We began by enabling the mod_ssl package, we then proceeded to create the server certificate using the openssl command and apply certificate to the Apache virtual host. At the end of this tutorial you will know how to generate Self-signed certificate using the openssl command and configure apache web server to apply the certificate.
Note that HTTPS uses a protocol called TLS, which superseded SSL. But the term SSL is still used when discussing secured HTTP traffic, So when we say SSL, actually we are referring to the TLS (Transport Layer Security).
Prerequisites
It is expected that Apache web server has been installed and that it is currently running. If Apache has not been installed already, install it by following the instructions given in the following link:
How to Install Apache on Ubuntu 18.04.
How to do it...
Following are the steps to generate Self-signed certificate for Apache/Nginx web server on Ubuntu 18.04:
- Enable the mod_ssl module.
- Generate the self signed certificate using the openssl command.
- Apply the SSL certificate.
To enable support for HTTPS traffic, first of all we need to enable the ssl module:
sudo a2enmod ssl
sudo systemctl restart apache2
We are now ready to begin generate an SSL/TLS certificate. The following is the openssl command to create a new TLS certificate and the private key:
sudo openssl req -x509 -nodes -days 365 -newkey rsa:2048 -keyout /etc/ssl/private/example.com.key -out /etc/ssl/certs/example.com.crtYou will be prompted to provide information such as Country Name, State and Organization Name. All these questions are optional except for the Common Name. The Common Name (CN) field is very important and should reflect the domain name of your website.
If you want to apply this ssl certificate to a single domain name, for example, www.example.com , then the common name should be:
www.example.comIf you want to generate a wildcard SSL certificate that valid for all subdomains, then use an asterisk (*) in place of the subdomain name:
*.example.com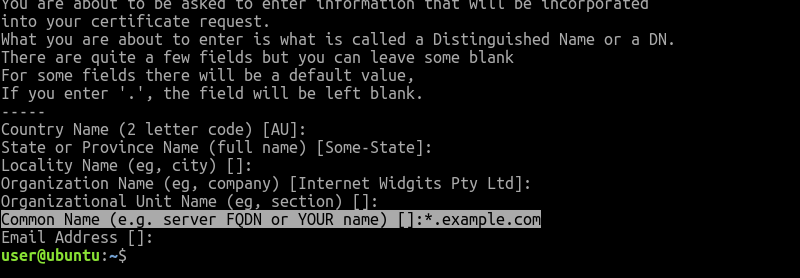
Apply the SSL certificate
Now that you have generated the Self-signed certificate, create a new virtual host file (e.g. example.com-ssl.conf) in the /etc/apache2/site-available directory, match it with the following configuration (Change the parameters as per your requirements):
<VirtualHost *:443>
    ServerName www.example.com
    ServerAlias example.com
    DocumentRoot /var/www/example.com
    ErrorLog ${APACHE_LOG_DIR}/error.log
    CustomLog ${APACHE_LOG_DIR}/access.log combined
    SSLEngine on
    SSLCertificateFile /etc/ssl/certs/example.com.crt
    SSLCertificateKeyFile /etc/ssl/private/example.com.key
</VirtualHost>
Then, enable the HTTPS site and restart the Apache web server:
sudo a2ensite example.com-ssl.conf
sudo systemctl reload apache2
A self-signed certificate is good for tests and internal use. But if you are intending to use an SSL Certificate on a production website, it is recommended to install SSL Certificate provided by a trusted Certificate Authority.
Letsencrypt is such a Certificate Authority that provides free SSL/TLS certificates.
How to get Free SSL Certificate for Ubuntu 18.04 using Let’s Encrypt.