How to Install Latest MySQL Version on Ubuntu Server
MySQL is the default database server available in Ubuntu and you can simply install it using the apt command. However, there is a problem with this. Ubuntu repositories may not always contain the latest version of MySQL Server. For example, at the time of writing this, Ubuntu 18 apt repository contains MySQL 5.7, while the latest release is MySQL 8.
To get the most up to date version, you need to add the Oracle's MySQL repository to your list and then you can install MySQL through the package management software.
Before we begin, Uninstall any older versions of MySQL Server that was installed on your system.
How to Uninstall MySQL on Ubuntu.
How to do it...
Refer to the following URL https://dev.mysql.com/downloads/repo/apt/, scroll down to the bottom and hit the Download Button.

You will be redirected to the download page. Without login, click on the "No thanks, just start my download" link to download the deb package to your local computer.

But since I'm going to install MySQL on Ubuntu Server, I will right click on the link and copy the link location and use wget to download directly on to the server.
wget https://dev.mysql.com/get/mysql-apt-config_0.8.13-1_all.debAfter the download is complete, Install the downloaded release package with the following command.
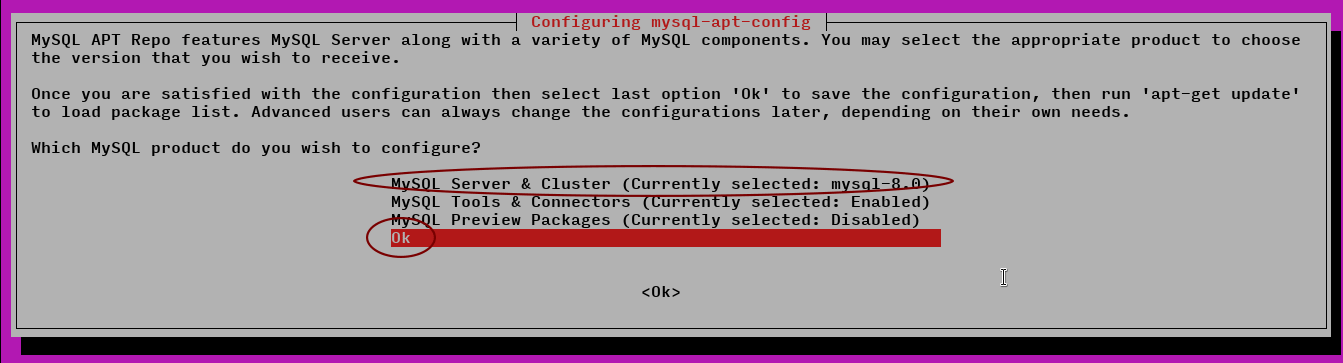
sudo dpkg -i mysql-apt-config_0.8.13-1_all.debA window shows up asking to choose the versions of the MySQL server and other components you wish to install. Make sure MySQL server & Cluster is selected and Press OK.
Update the package repository
sudo apt-get updateNow we can install MySQL server with apt command:
sudo apt-get install mysql-community-serverLeave the Password black to enable Unix socket based authentication (Learn more about Unix socket based authentication) which is recommended.

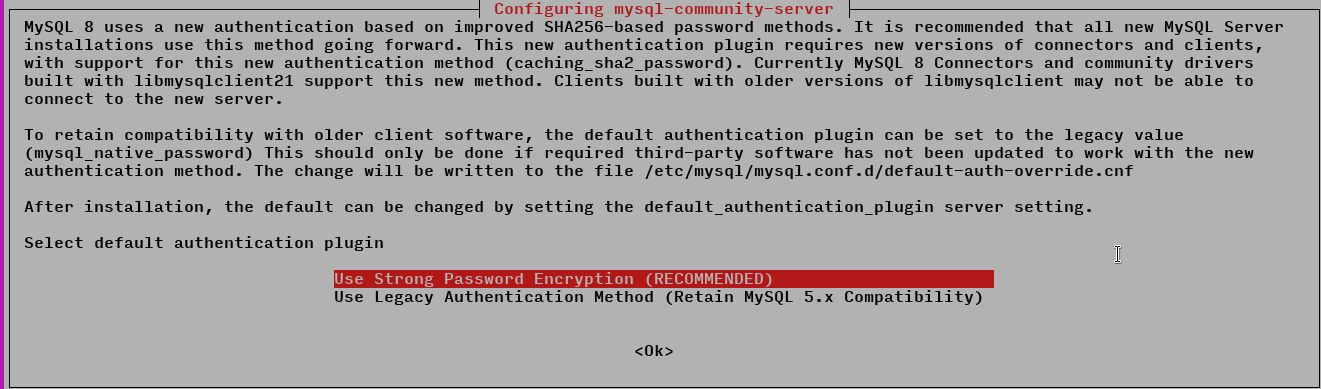
When selecting the default authentication plugin, choose the Use strong password encryption.
MySQL Server will start automatically after the installation.
- Configuration files are stored under /etc/mysql directory.
- The main configuration file is /etc/mysql/my.cnf.
You can connect to MySQL root console with the following command:
sudo mysqlWe can start, stop and restart the Database server with the systemctl command. For example, to restart MySQL service, run:
systemctl restart mysql.serviceAnd that is all, we have successfully installed the latest production release of MySQL on Ubuntu 18.04 LTS server.