How To Create a Password Protected Zip File in Windows 10/11
In the following tutorial, you will learn how to create a password-protected ZIP file in Windows 10/11. We will also look at how to add a password to an existing ZIP (or WinRAR) file.
To create a ZIP file, we need third-party archiving software like WinRAR. Click on the following link and follow the instructions if you don't have Winrar installed on your computer.
How to Install Winrar on WindowsIf you want to encrypt the file names, you need to use the RAR archive format instead of ZIP. If you don't encrypt file names, anyone can see the file and folder names within a password-protected ZIP file, but can't extract or view content without entering the password.
If you don't want to hide file names, you are still free to use the ZIP format.
How to do it…
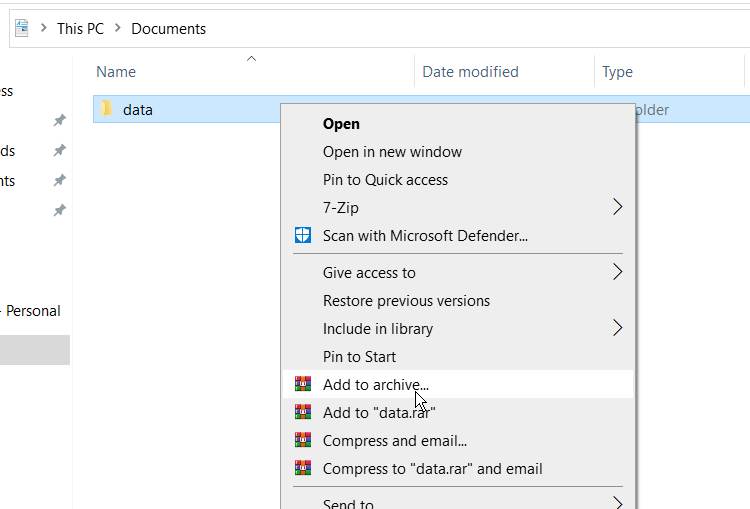
Right-click the folder you want and choose Add to archive from the context menu that appears.
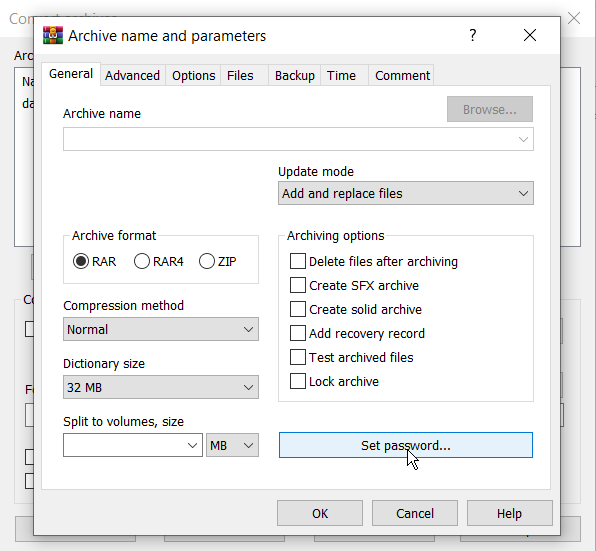
The Archive name and parameters window appears. Under the Archive format, choose the RAR radio button (or ZIP).
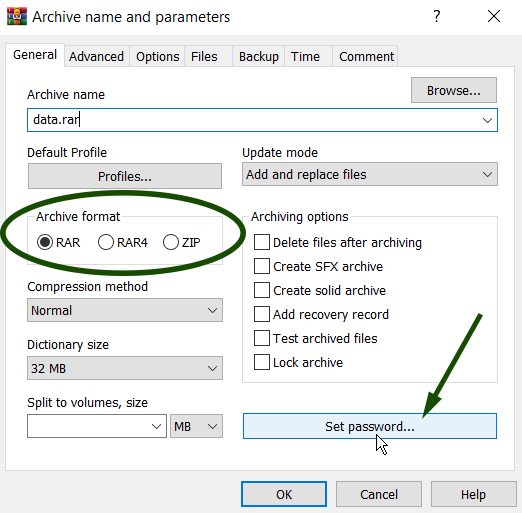
Next, click on the Set password button.
In the pop-up window that appears, enter the password you want to use. Also, check the Encrypt file names checkbox (this option is only available for RAR archive format).
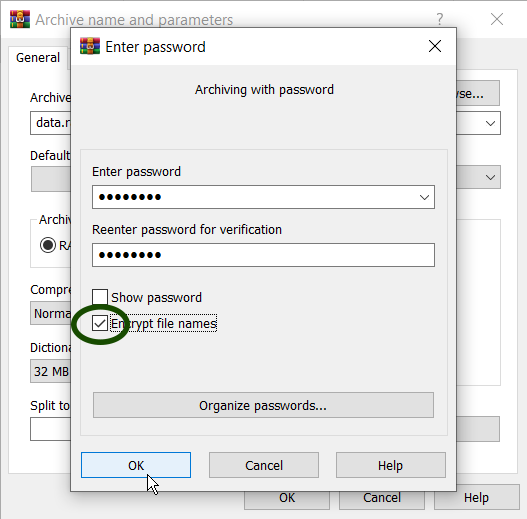
Click Ok and Ok again to finish creating the archive. The password-protected zip file is saved in the same location as the source folder (if you didn't change the location).
Note that it is also possible to create a password-protected archive from a file(s) instead of a folder(s).
Add Password to Existing Rar or Zip File
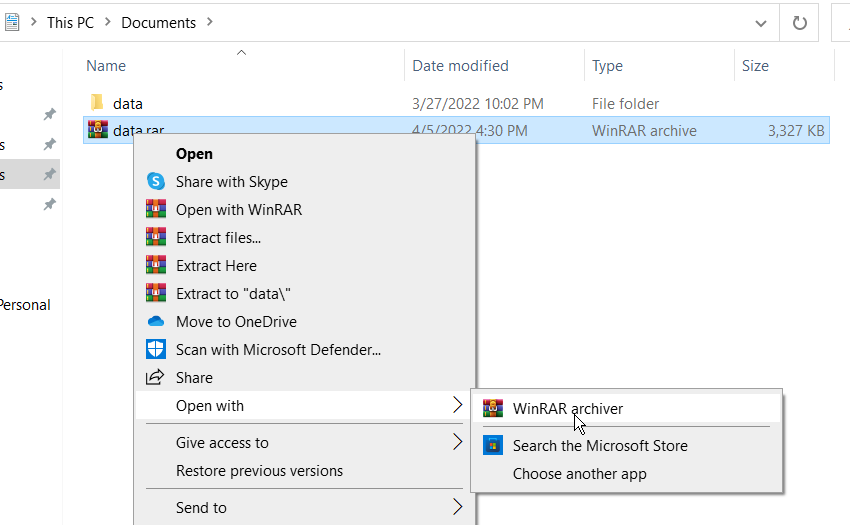
Right-click the ZIP file, click Open with and then choose WinRAR archiver.
Next, go to Tools > Convert archives and then click Compression.
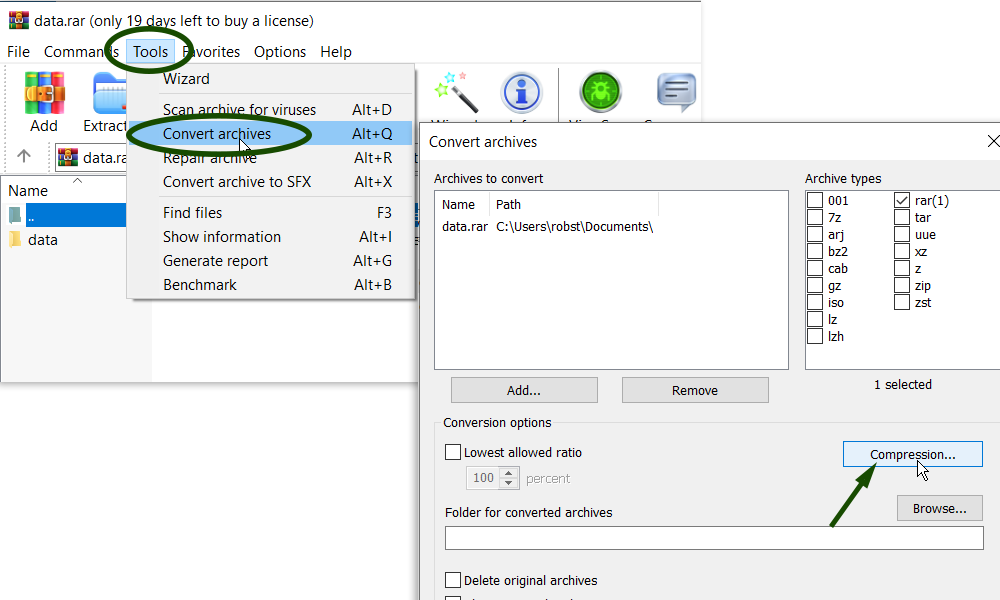
When the Set default compression options window appears, click on the Set password button.
You will be presented with a new prompt to add the password for the archive.