How to Install SQLite3 on Windows 10 & 11
Sqlite is a serverless relational database management system, what we call an embedded database. It is very lightweight and very easy to use.
In this article we are going to see how to install SQLite3 on Microsoft Windows 10 and 11. I will also show you how to install "DB Browser for SQLite", a graphical user interface for SQLite3.
There are a couple of ways to install SQLite3 on Windows. I will be using the Winget package manager, which is the official command-line package manager for Windows. It comes pre-installed on Windows 10 and Windows 11.
- Install SQLite3 using Winget.
- Install DB Browser for SQLite using Winget.
- Manually Install SQLite 3.
Install SQLite3 using Winget
To install SQLite3 on your Windows computer, Open command prompt as Administrator (CMD or PowreShell) and run the following command:
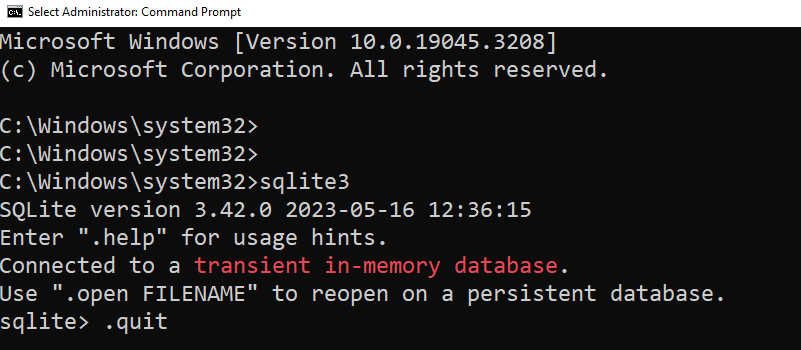
winget install sqlite.sqliteThat is all you need to do. Now, exit the command prompt and open a new one as Administrator. You will then have access to the sqlite3 command.
Install DB Browser for SQLite using Winget
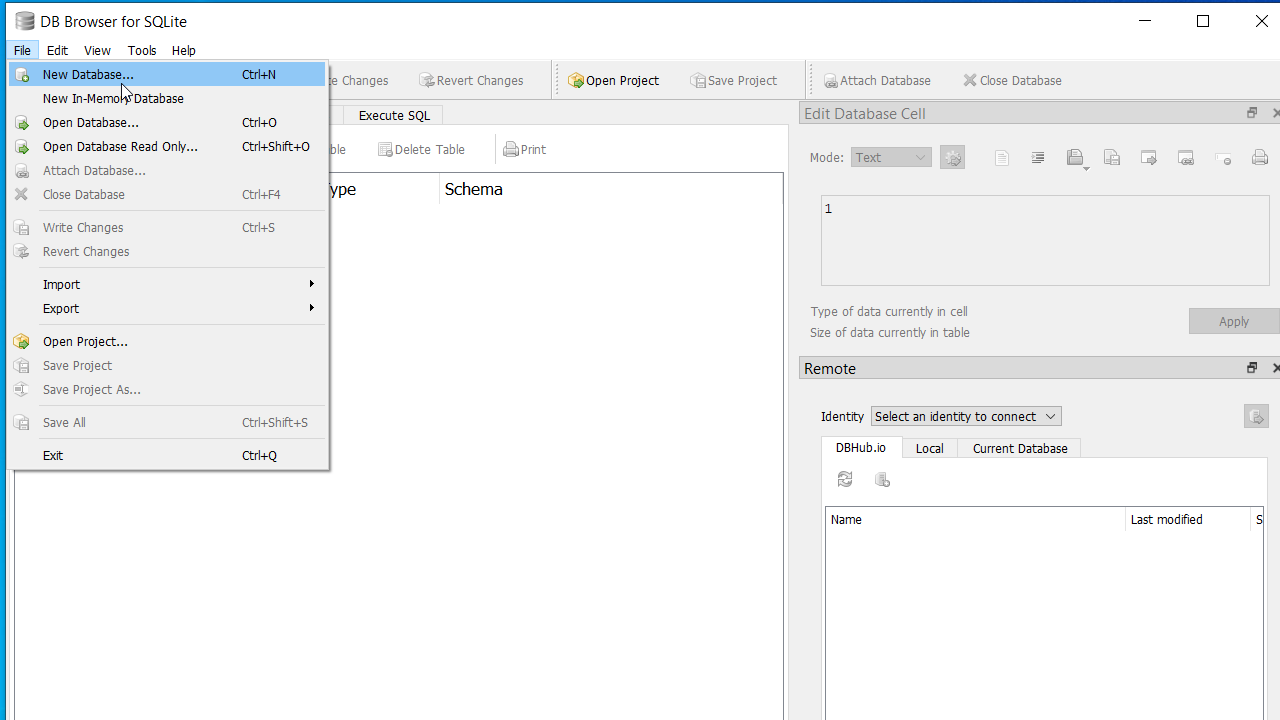
If you prefer to use a graphical user interface, there is an open-source software package called 'DB Browser for SQLite.' You can install it on Windows with the following command:
winget install DBBrowserForSQLite.DBBrowserForSQLiteOnce the installation is complete. There will be a start menu shortcut to the DB Browser.
Manually Install SQLite 3
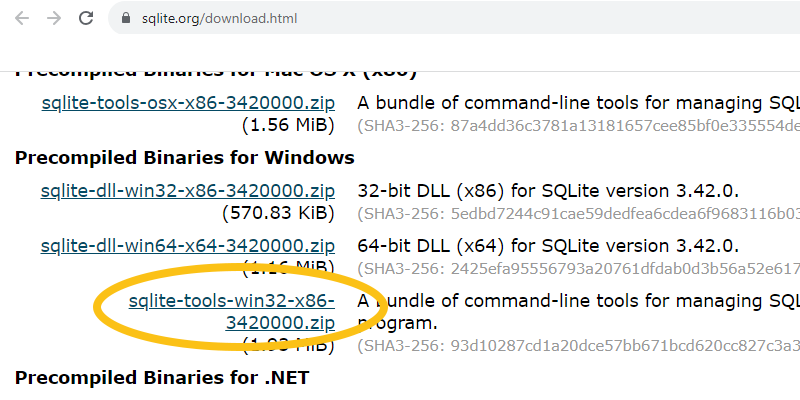
If you are on a computer that does not have a winget package manager, you can download the SQLite 3 from the following URL: https://www.sqlite.org/download.html.
In the website download the sqlite-tools package under the Precompiled Binaries for Windows.
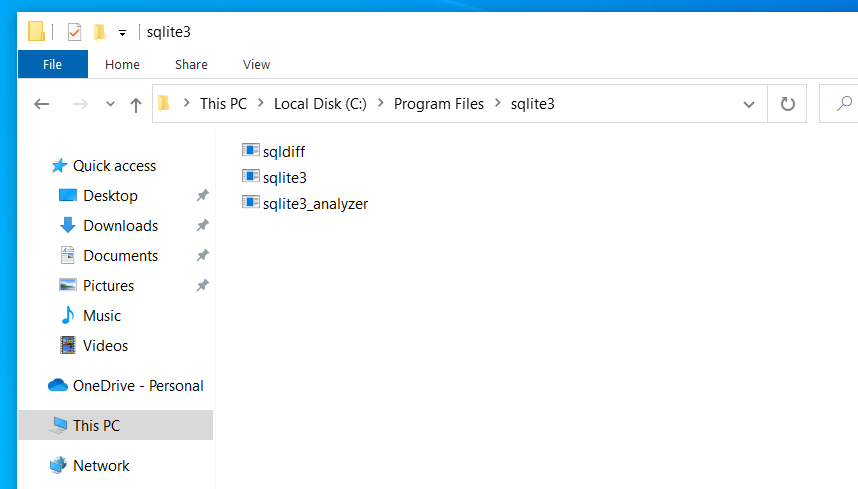
After downloading the zip file, extract its contents to a location of your choice for installing SQLite 3. For example, you can extract the files to 'C:\Program Files\sqlite3'.
Then you need to add that location to the Windows PATH variable. To edit the path variable do the following steps:
- Press the
Windows key + Rto open the Run dialog box. - In the Run dialog box Type
sysdm.cpland press Enter to open the System Properties window. - In the System Properties window, select the Advanced tab, and then click the Environment Variables button.
- Under the 'System variables,' select the 'Path' variable and click Edit.
- Finally, click the New button and add the path to the SQLite directory (e.g.,
'C:\Program Files\SQLite').
Once you add the SQLite directory to the Path variable, you will have access to the sqlite3 command from both CMD and PowerShell.
A Sqlite database is a one single file, which you can move to anywhere in your computer. Also you can move a database from one operating system to another without any problem.