How to Install WSL 2 on Windows 10, 11, and Server 2022
WSL 2 is the newest version of the Windows Subsystem for Linux. The previous version is now called WSL 1.
In this tutorial, we will learn how to install WSL 2 on Windows 10, Windows 11, and Server 2022. We will also learn how to use the wsl command to install and manage WSL 2 Linux distributions.
- System Requirements for WSL 2 Installation.
- Install WSL 2.
- Install Additional Linux Distributions.
- Manage Windows Subsystem for Linux using the WSL command.
System Requirements for WSL 2 Installation
WSL 2 requires Virtualization to be enabled. If virtualization is turned off, you can enable it by accessing the BIOS. You can click on this link to learn how to check if virtualization is enabled on Windows.
How you enable virtualization depends on your motherboard and the CPU type (Intel/AMD). Check your motherboard model and then search for specific instructions.
An important point to remember is that WSL 2 runs on a lightweight Hyper-V virtual machine, which may conflict with third-party hypervisors like VirtualBox and VMware Workstation. To prevent issues, avoid running WSL and third-party virtualization software on the same computer.
Install WSL 2
To install Windows Subsystem for Linux on Windows 10, 11, and Server 2022, open a Command Prompt as administrator and run wsl --install:
wsl --installThe command will install Windows Subsystem for Linux and prompt you to reboot your computer upon completion. Upon rebooting and logging in, the system will automatically initiate the configuration of Ubuntu, the default WSL2 distribution.
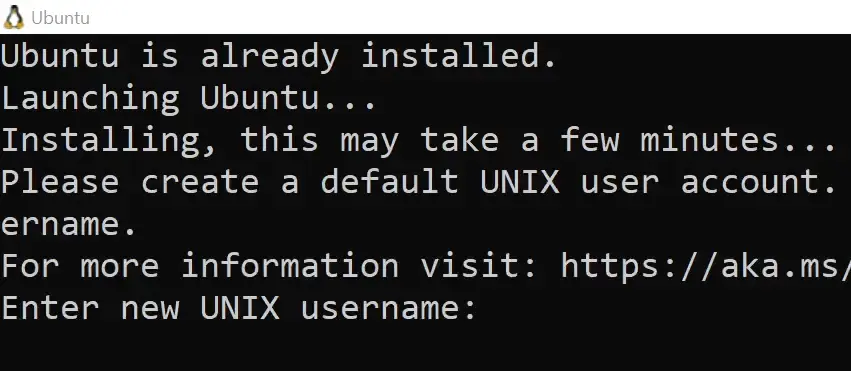
At the end, you'll be asked to create a Linux user account. That's all you need to do. Congratulations, you've successfully installed WSL 2 on your Windows computer.
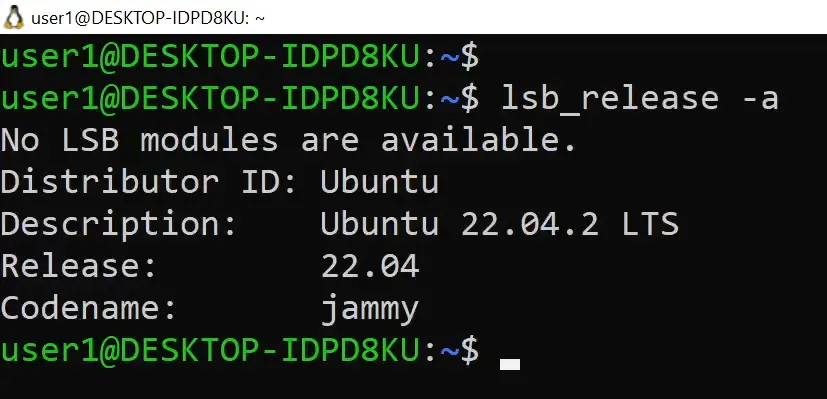
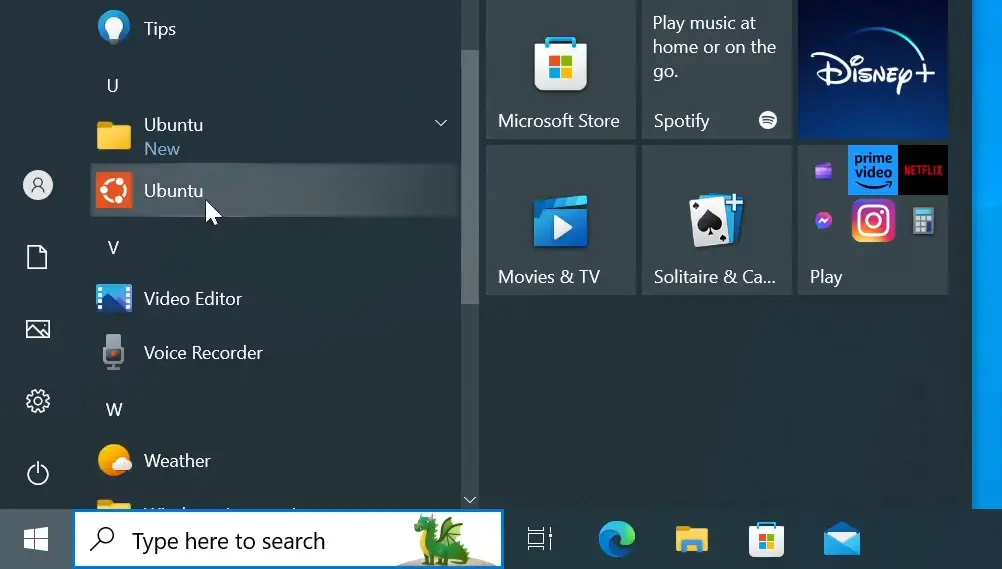
You can type exit to close the Linux shell. To start the shell again, use the wsl command or the Start menu shortcut (called 'Ubuntu').
Install Additional Linux Distributions
Ubuntu was automatically installed alongside WSL 2. You can install additional distributions using the wsl --install command. But, first run the wsl --list --online command to get the list of distributions you can install.
wsl --list --onlineThe above command will output something like this:
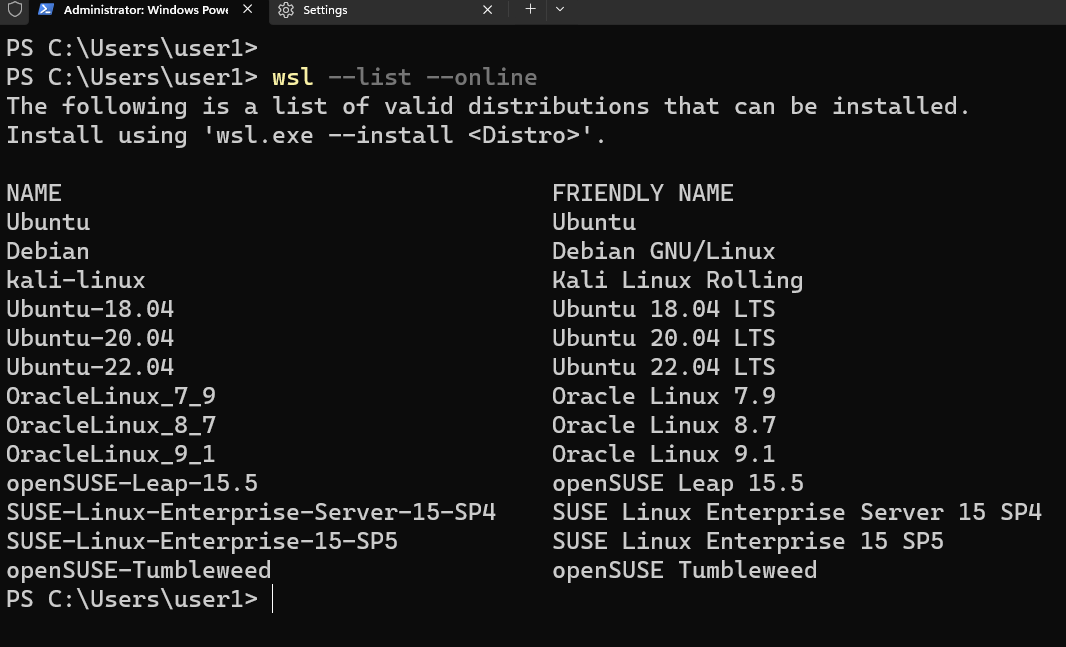
Now for example, if you want to install Kali Linux, you will run the following command:
wsl --install -d kali-linuxManage Windows Subsystem for Linux using the WSL command
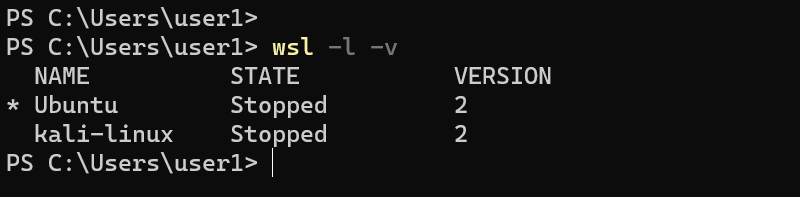
At the command prompt, type wsl -l -v to list Linux distributions installed on your computer.
To start a specific distribution, use the --distribution or -d option, followed by the name of the distribution you want to launch:
wsl -d kali-linuxIf you want to learn more about the wsl command in more details, click the following link: www.configserverfirewall.com/windows-10/wsl-command/.
Better File IO Performance and Full System Call Compatibility
Windows Subsystem Linux 2 is significantly faster than version 1. For example, If you run the apt install command to install software on your Ubuntu distro, it will take less time to install the software on WSL 2 compared to WSL 1.
WSL 2 also introduces its own Linux kernel to fully support system call compatibility, which means we can now run many more Linux apps (such as Docker) on Windows 10.
The Linux kernel is running on a lightweight utility virtual machine, and all WSL 2 Linux distributions are launched within this single lightweight utility VM.